
Best dive sites in May
98 destinations at their best this month, ranked by our data-driven review.
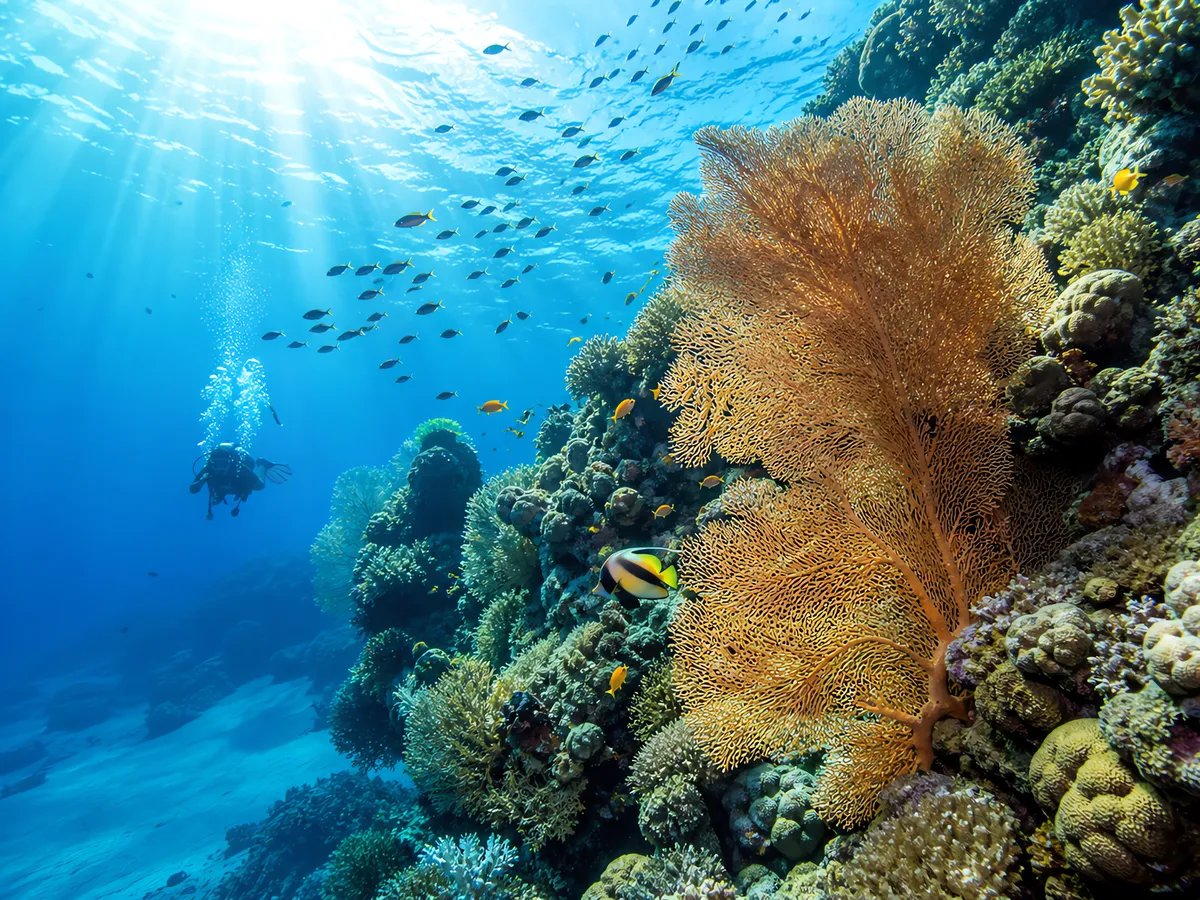
Ras Mohammed National Park
Wall-and-reef diving with visibility up to 30 m, 4 standout species — a great fit for most divers.
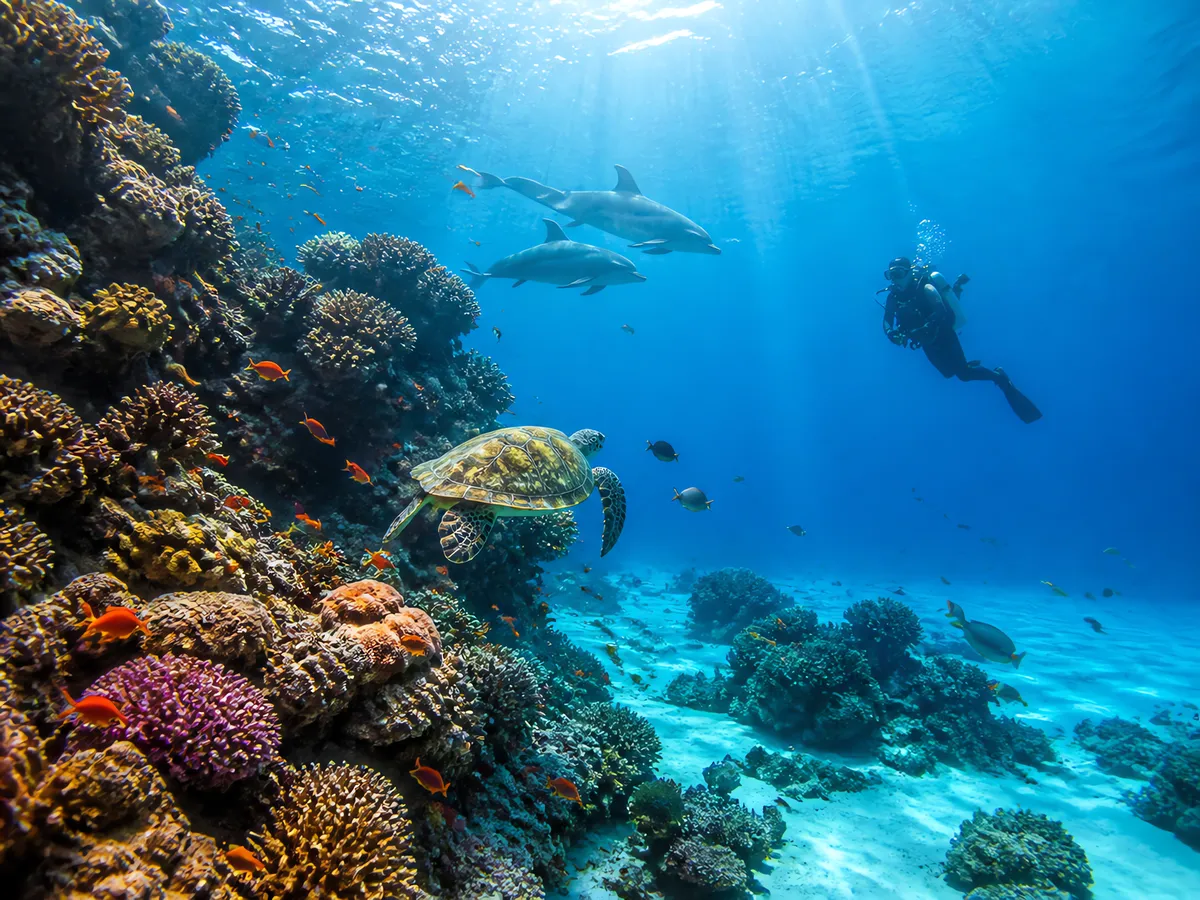
Marsa Alam
Wall-and-reef diving with visibility up to 30 m, 4 standout species — a strong choice for experienced divers.
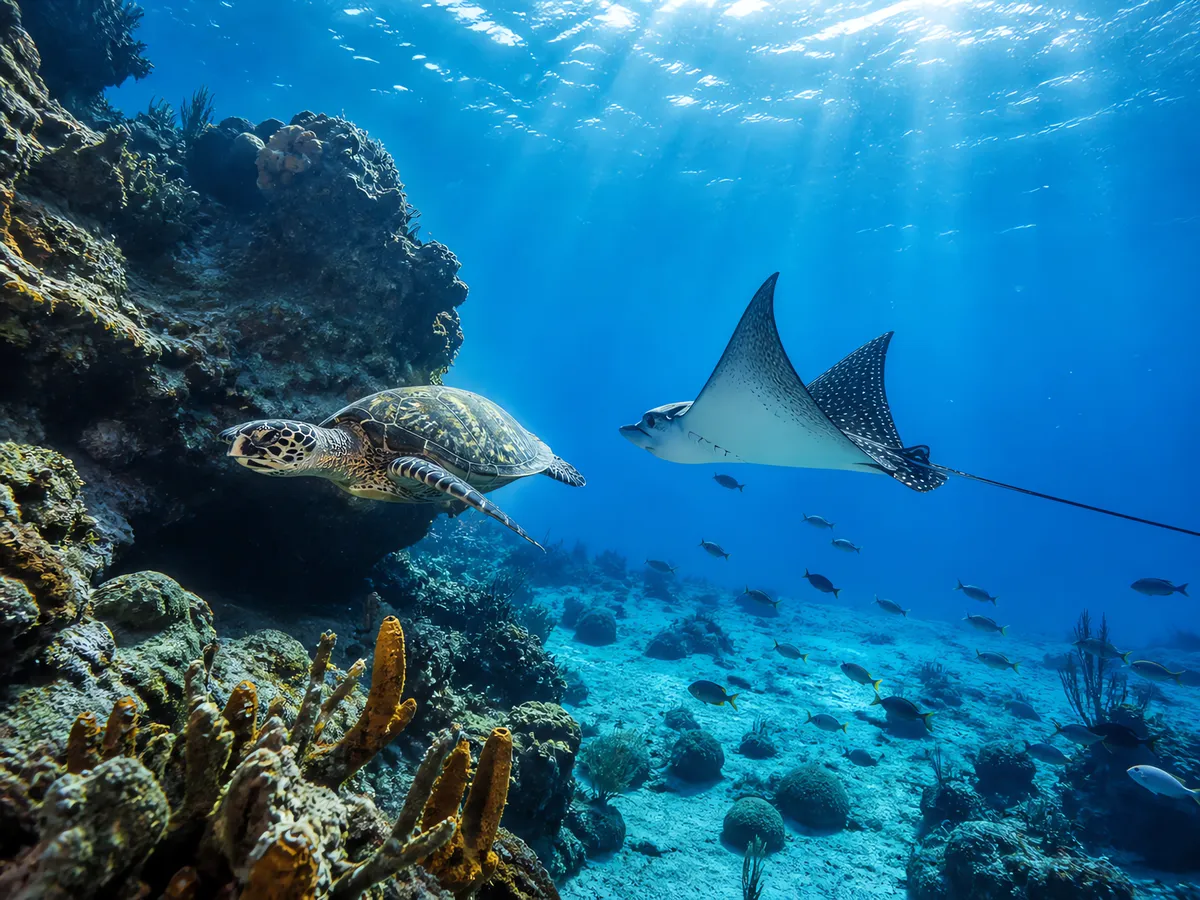
Cozumel Marine Park
Wall-and-reef diving with visibility up to 30 m, 4 standout species — a great fit for most divers.
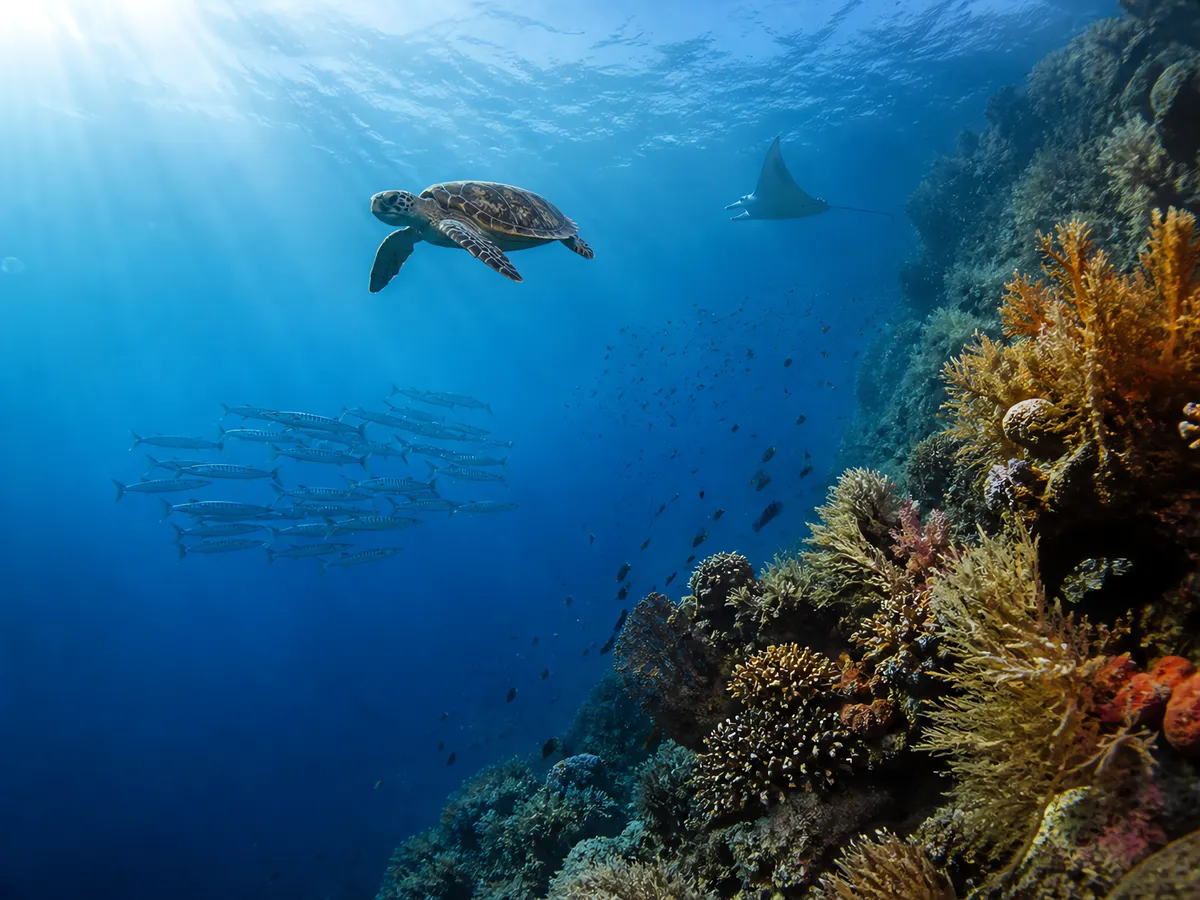
Bunaken Marine Park
Wall-and-reef diving with visibility up to 30 m, 4 standout species — a strong choice for experienced divers.
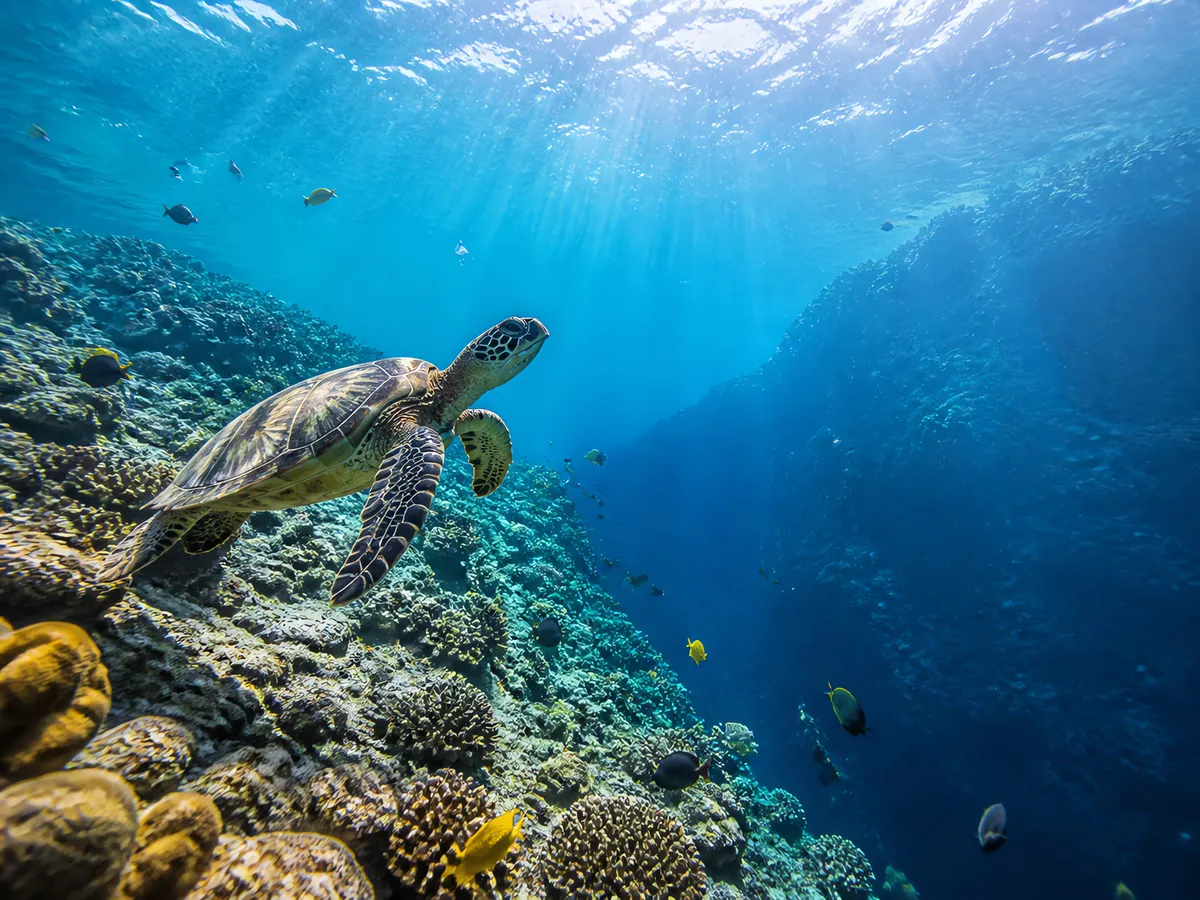
Molokini Crater
Wall-and-reef diving with visibility up to 30 m — ideal for newcomers.
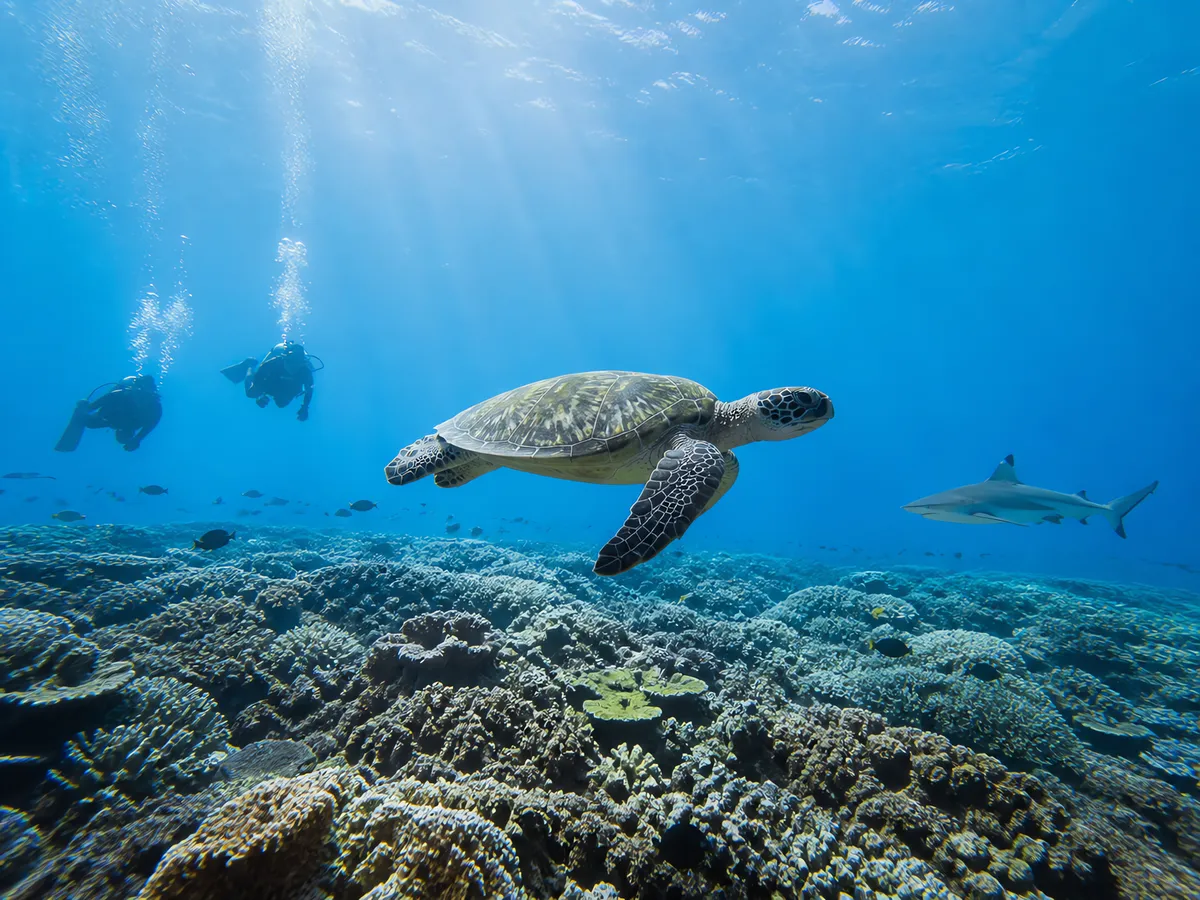
Miyako Islands
Drift diving with visibility up to 30 m — ideal for newcomers.
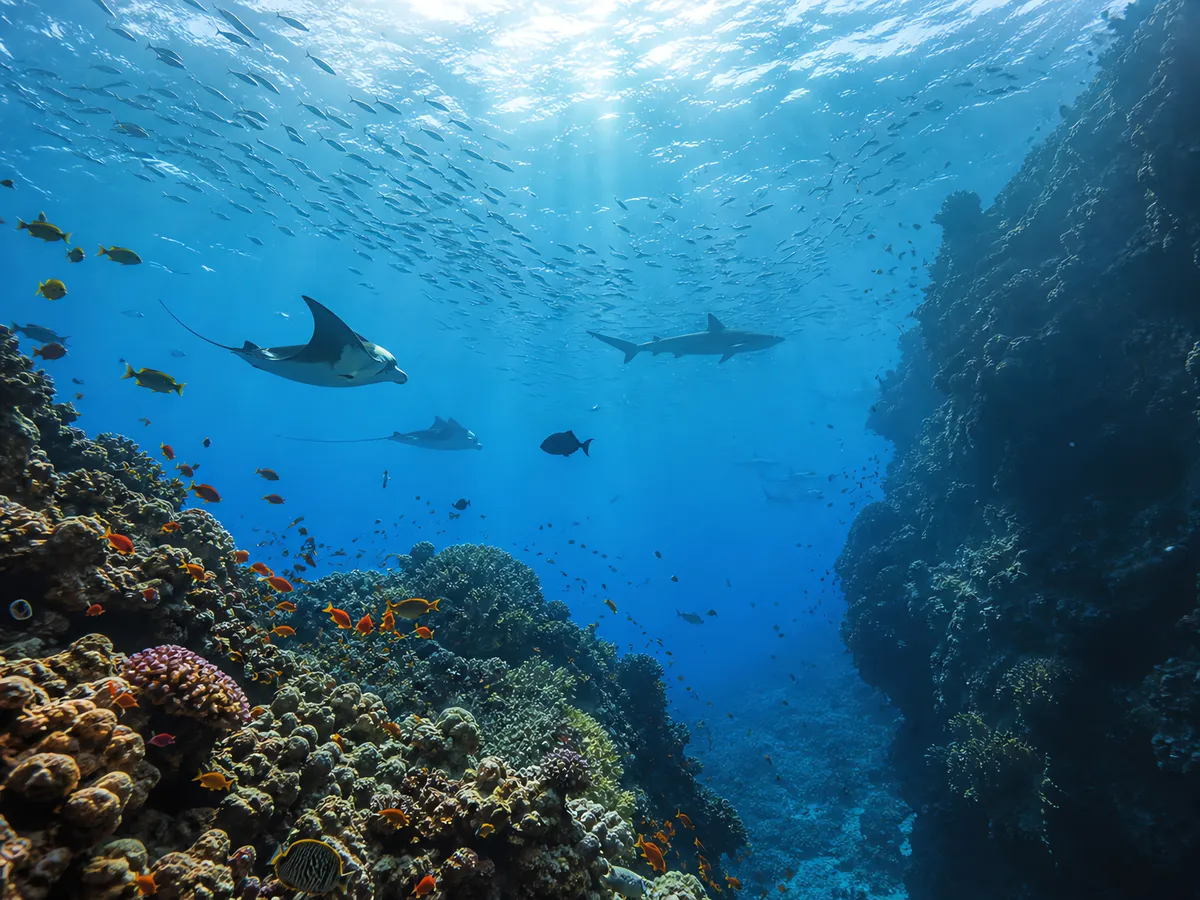
Elphinstone Reef
Wall-and-reef diving with visibility up to 30 m, 4 standout species, liveaboard access, challenging currents — a strong choice for experienced divers.
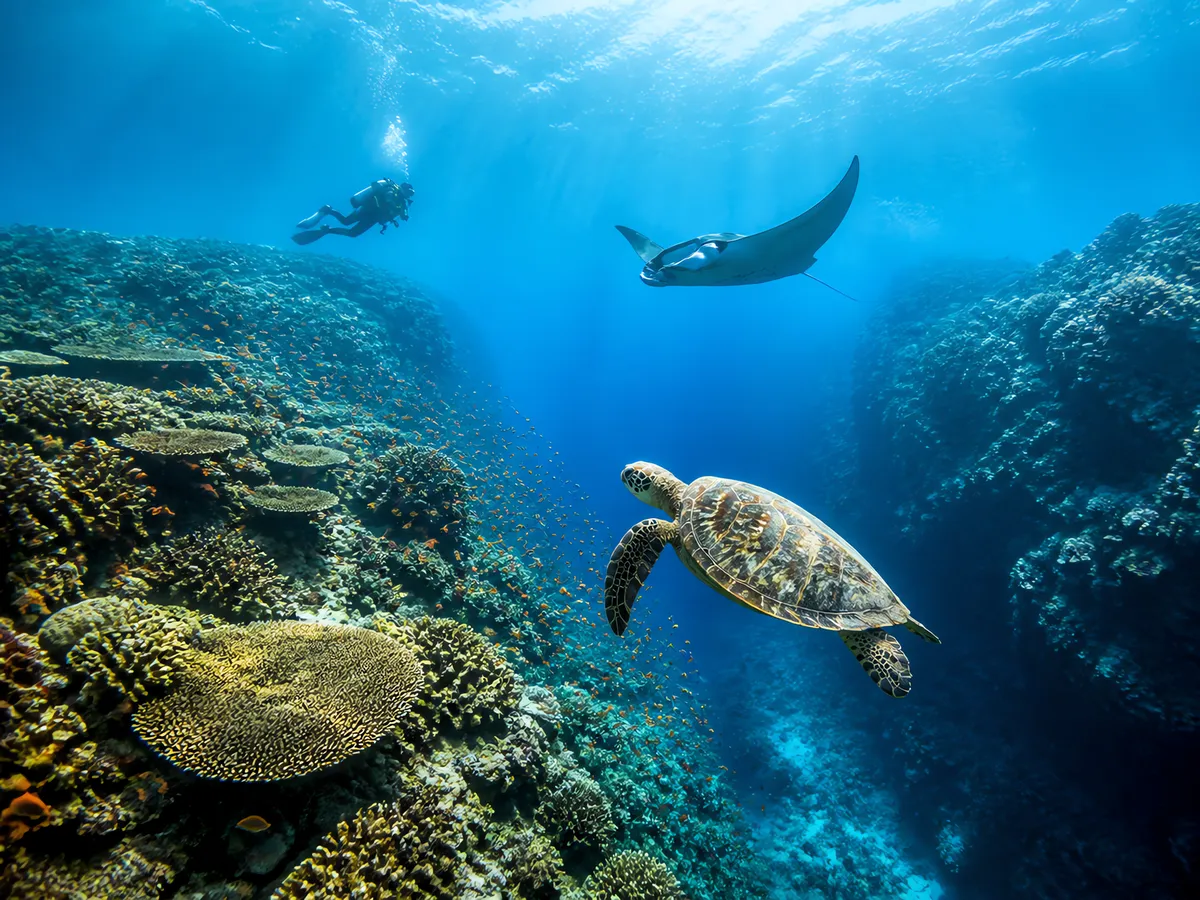
Kerama Islands
Wall-and-reef diving with visibility up to 35 m — a great fit for most divers.
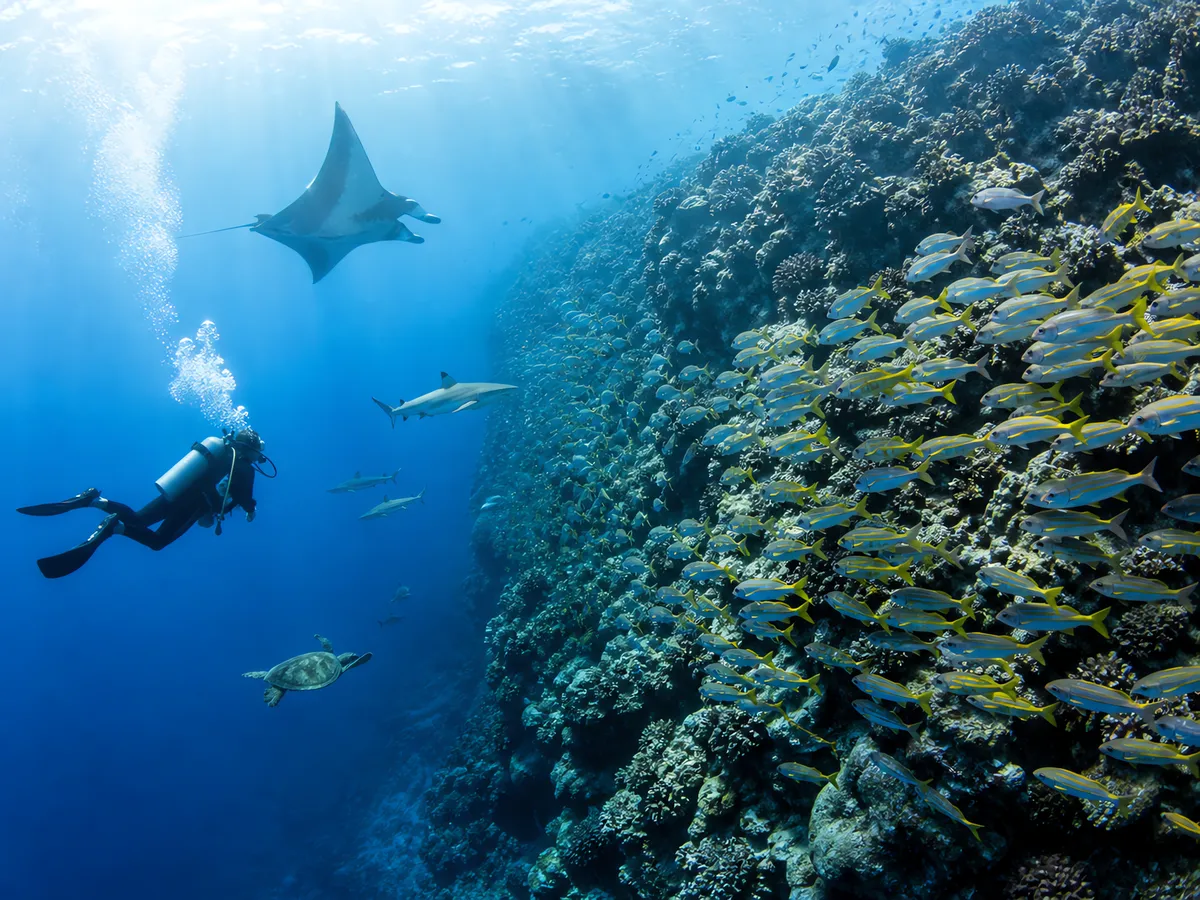
Blue Corner
Wall-and-reef diving with visibility up to 30 m, 4 standout species, challenging currents — a strong choice for experienced divers.
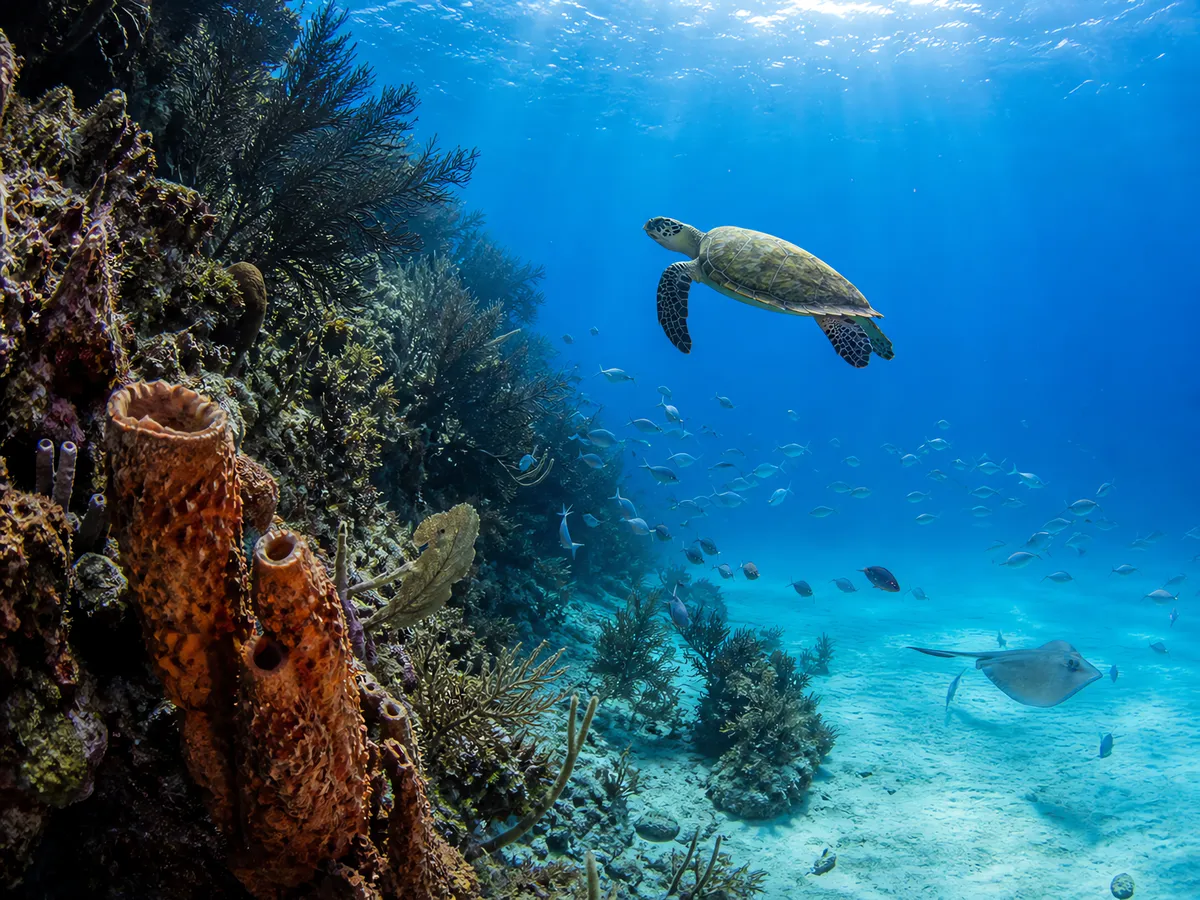
Bloody Bay Wall
Wall-and-reef diving with visibility up to 35 m, 4 standout species — a great fit for most divers.
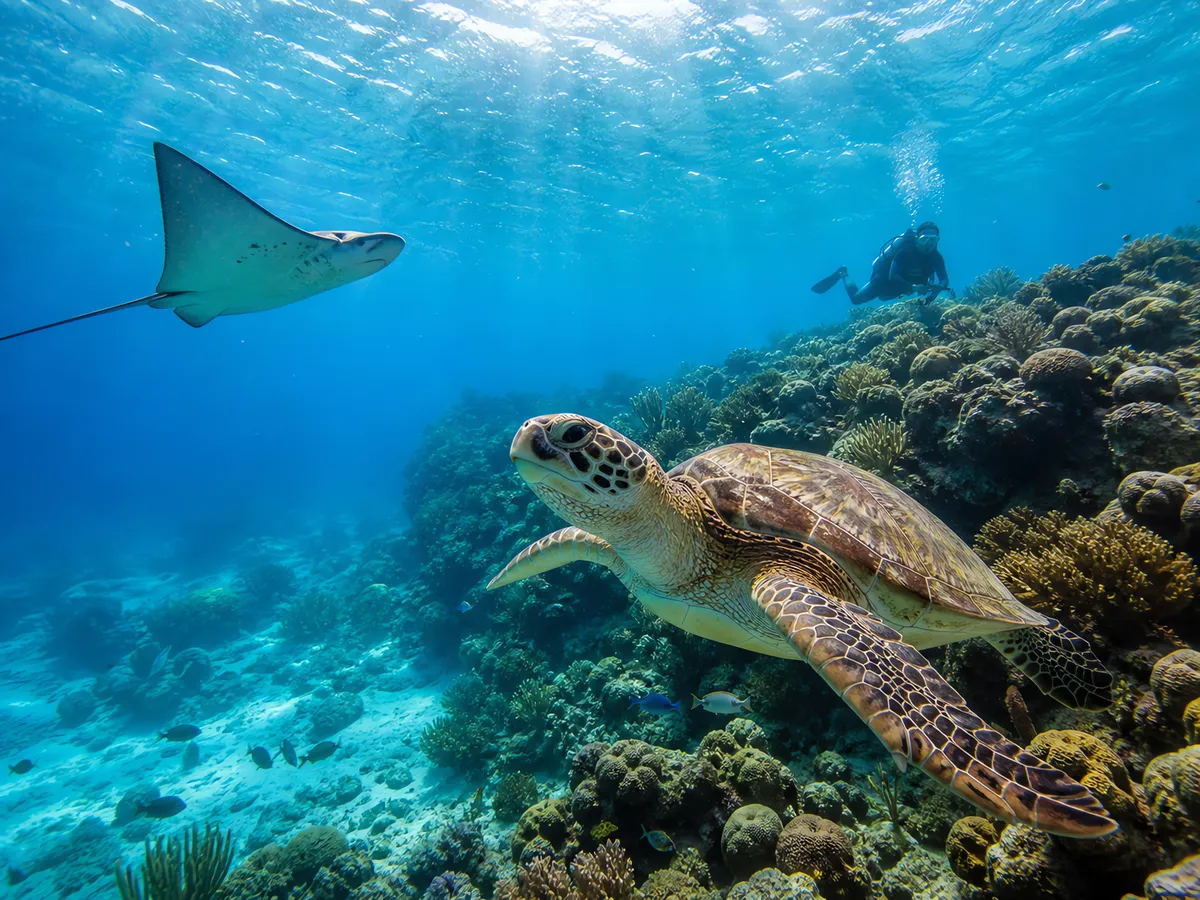
Grace Bay
Wall-and-reef diving with visibility up to 30 m — a great fit for most divers.
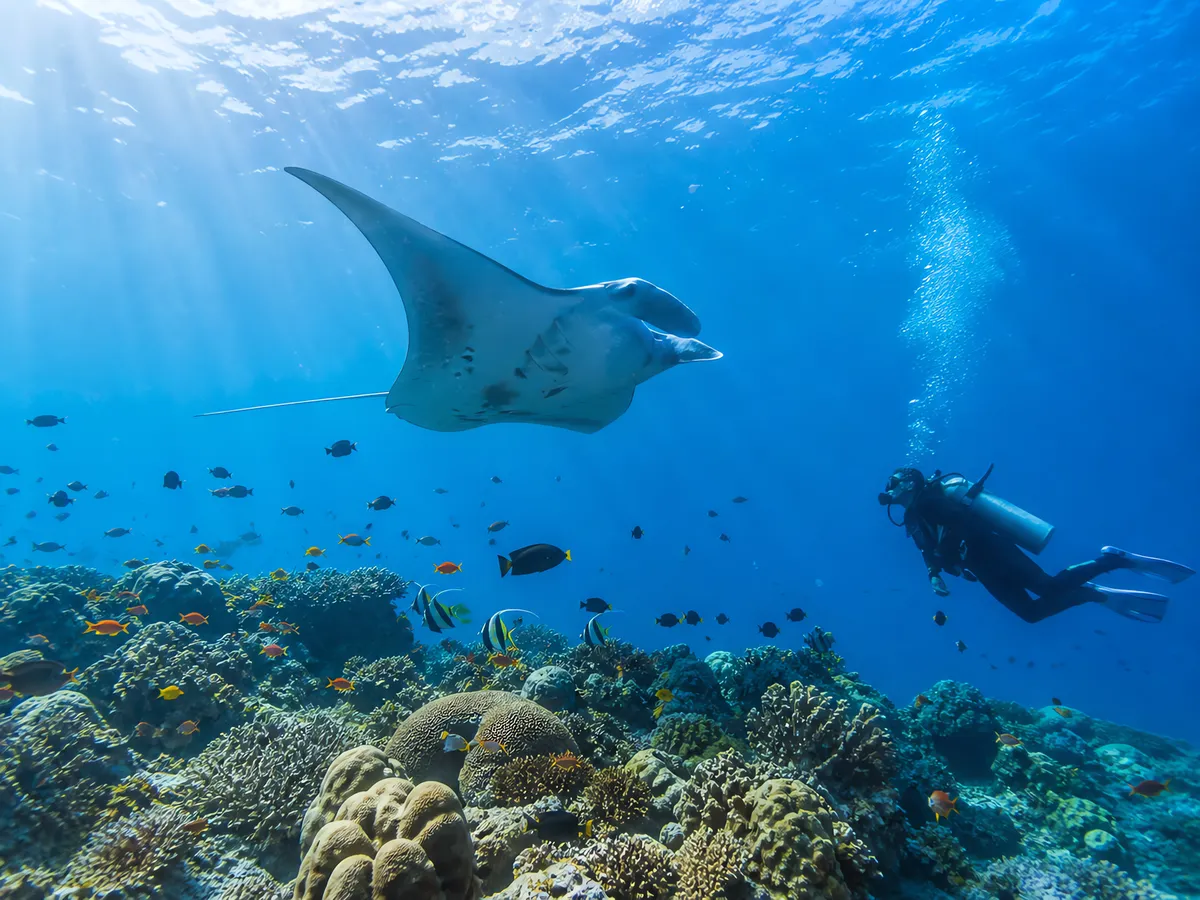
Nusa Lembongan
Drift diving with 4 standout species — ideal for newcomers.
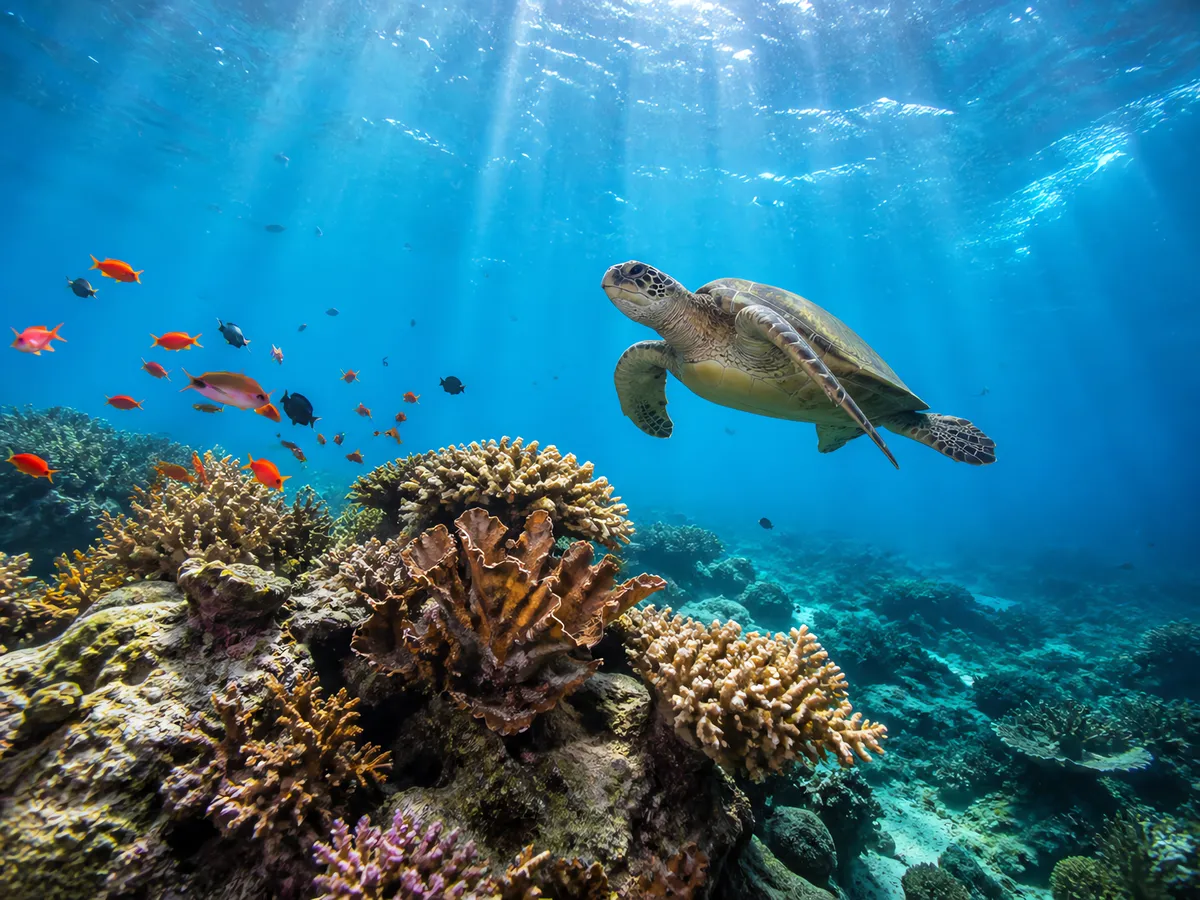
Puerto Galera
Wall-and-reef diving with 4 standout species — ideal for newcomers.
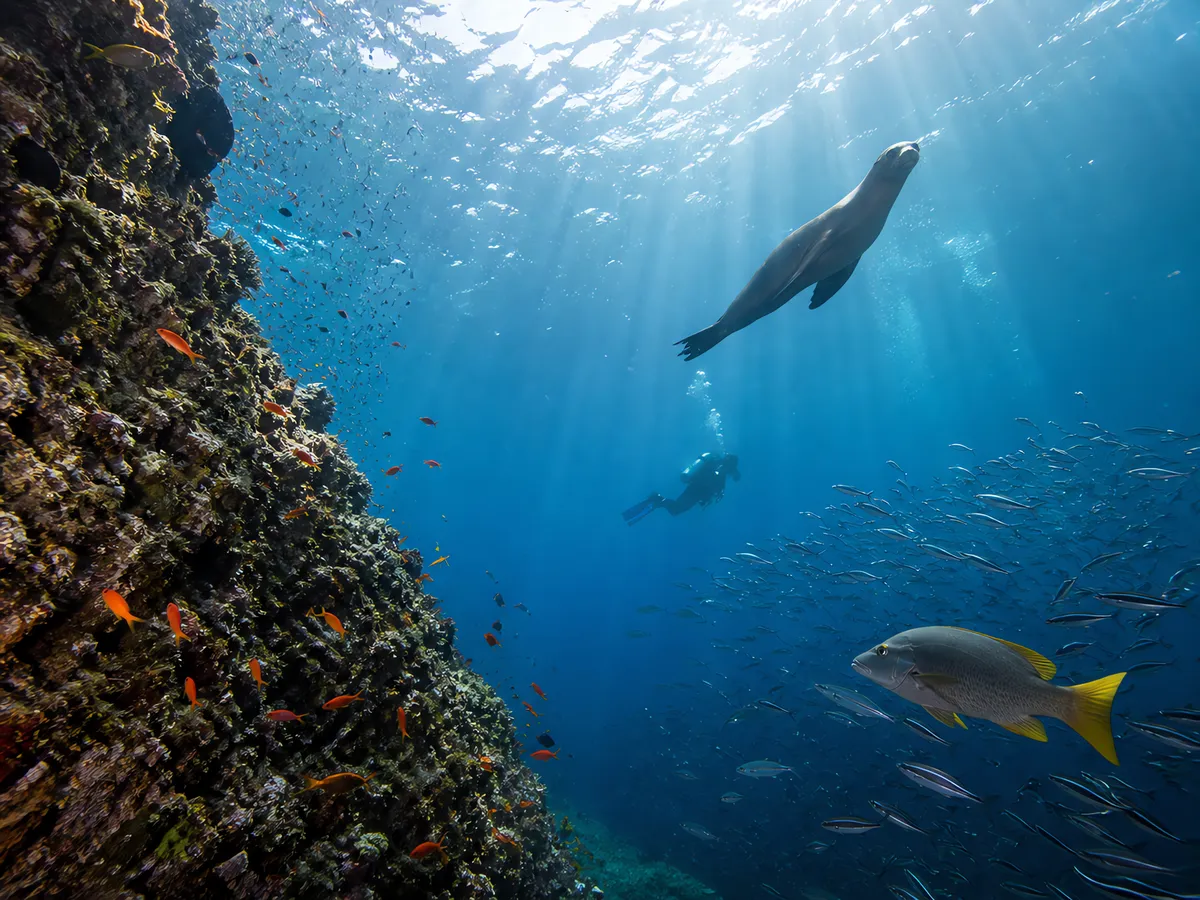
Cabo San Lucas
Wall-and-reef diving with 4 standout species, challenging currents — a strong choice for experienced divers.
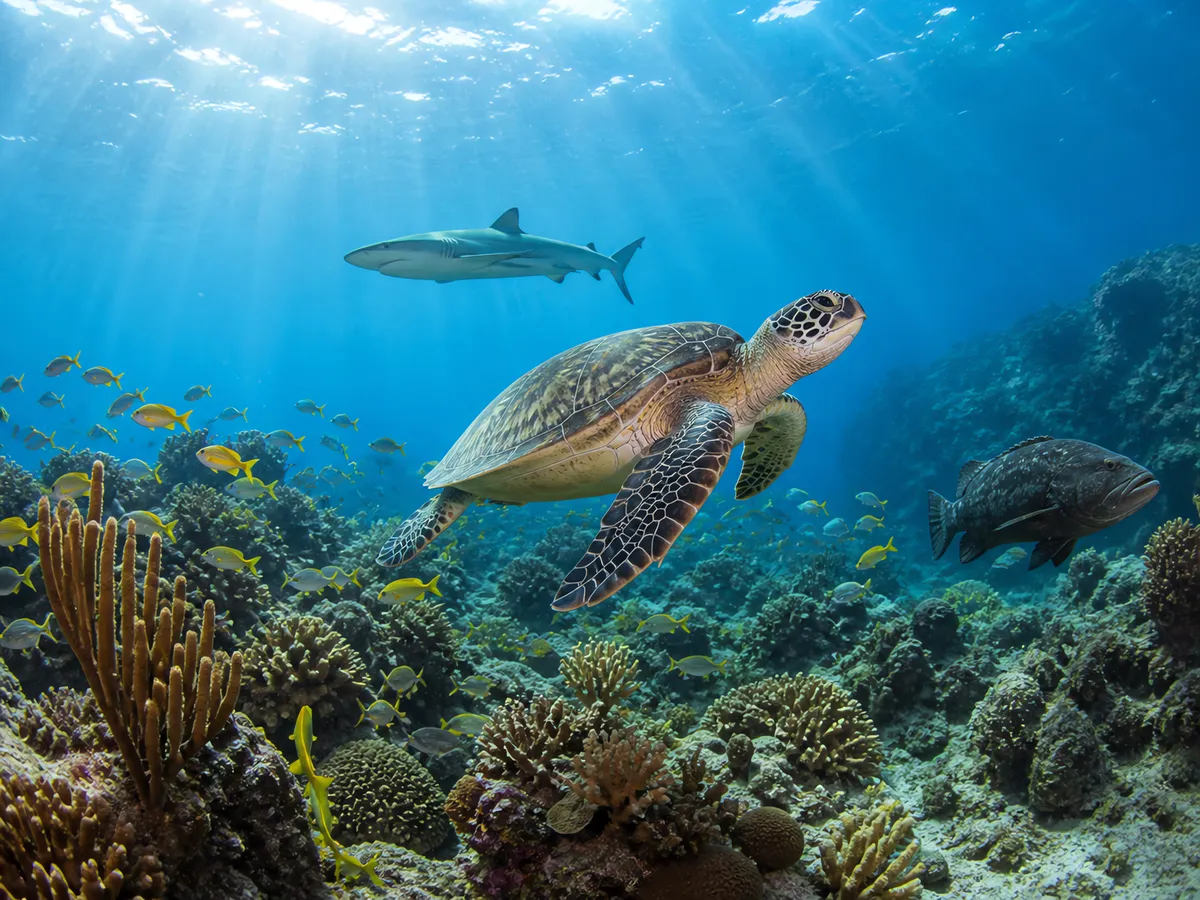
Molasses Reef
Reef diving with 4 standout species — ideal for newcomers.
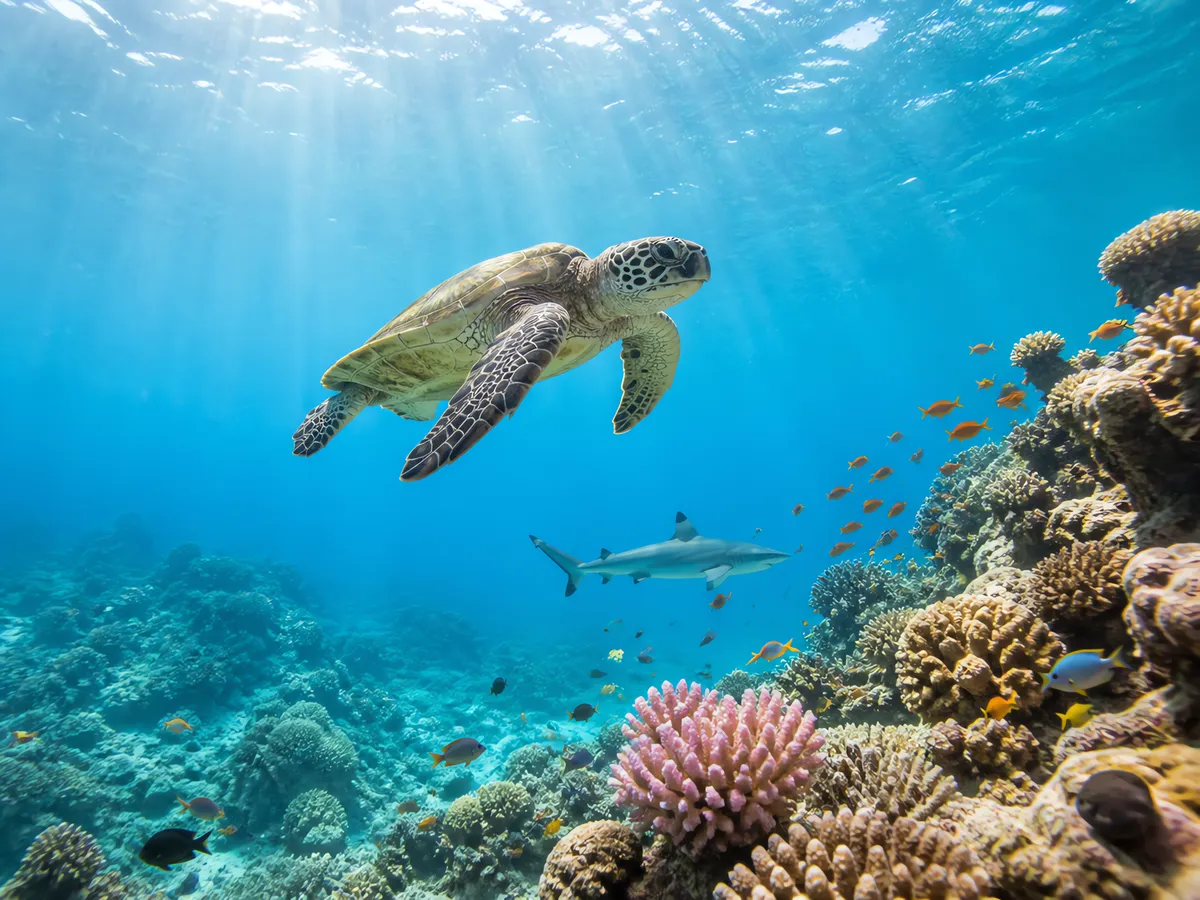
Gili Islands
Reef diving with a well-rounded site — ideal for newcomers.
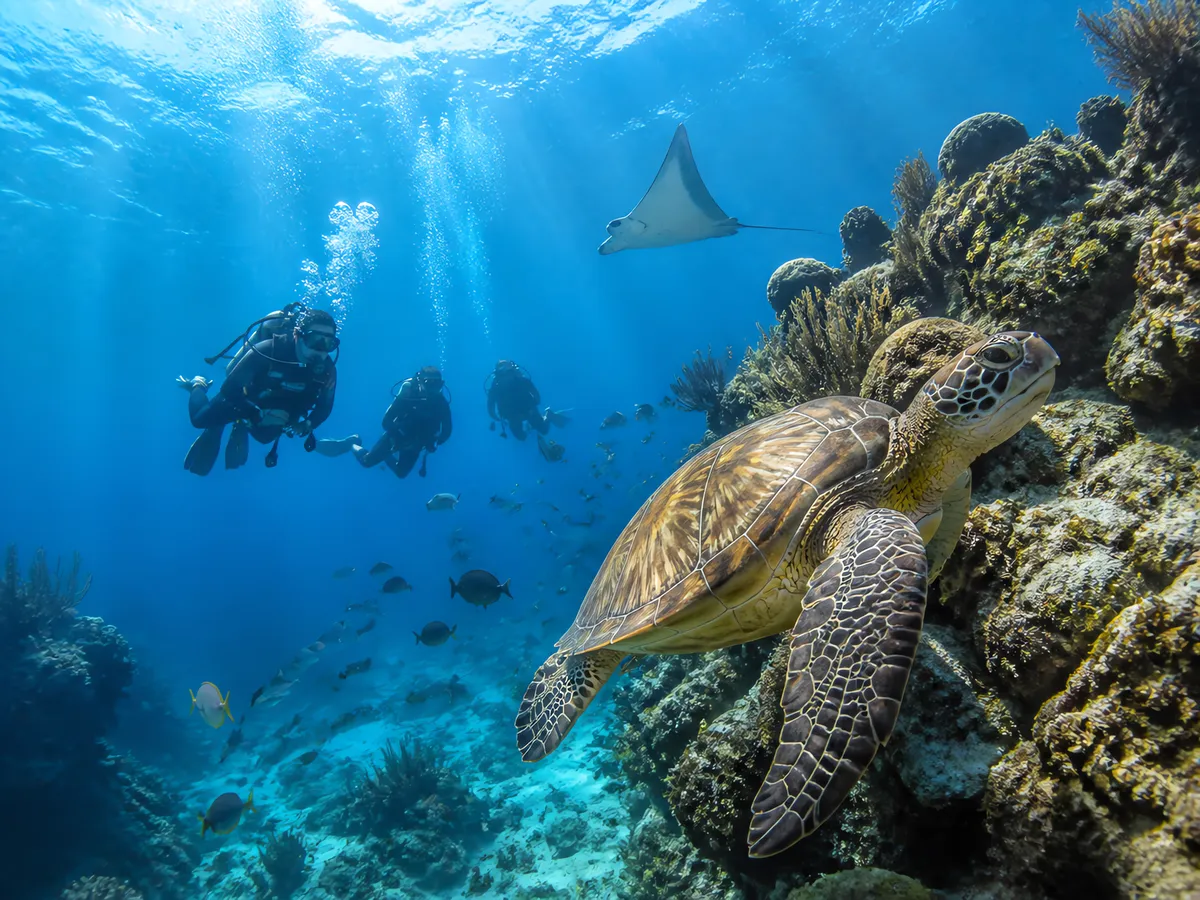
Roatan
Wall-and-reef diving with visibility up to 25 m — ideal for newcomers.
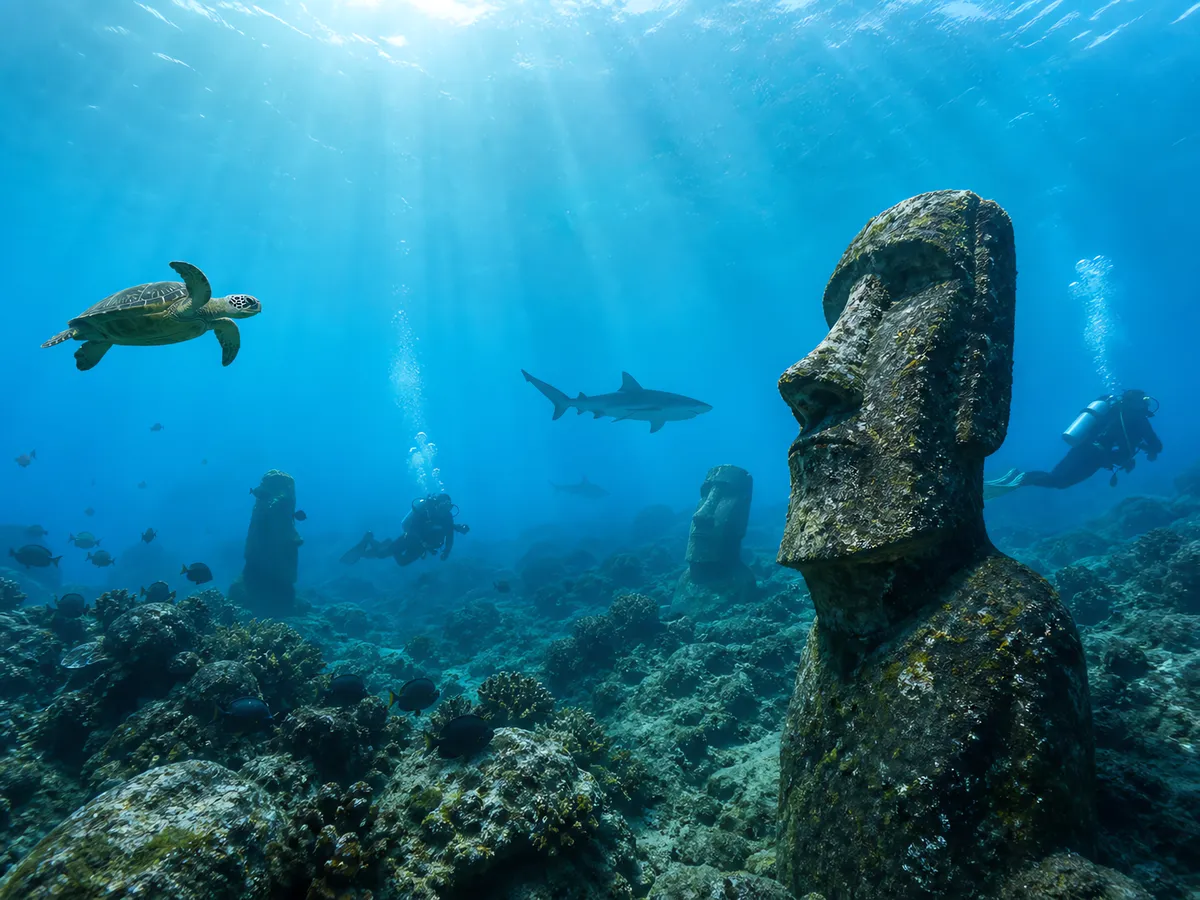
Easter Island (Rapa Nui)
Cave diving with visibility up to 30 m, 4 standout species — a strong choice for experienced divers.

Kas
Cave diving with a well-rounded site — ideal for newcomers.
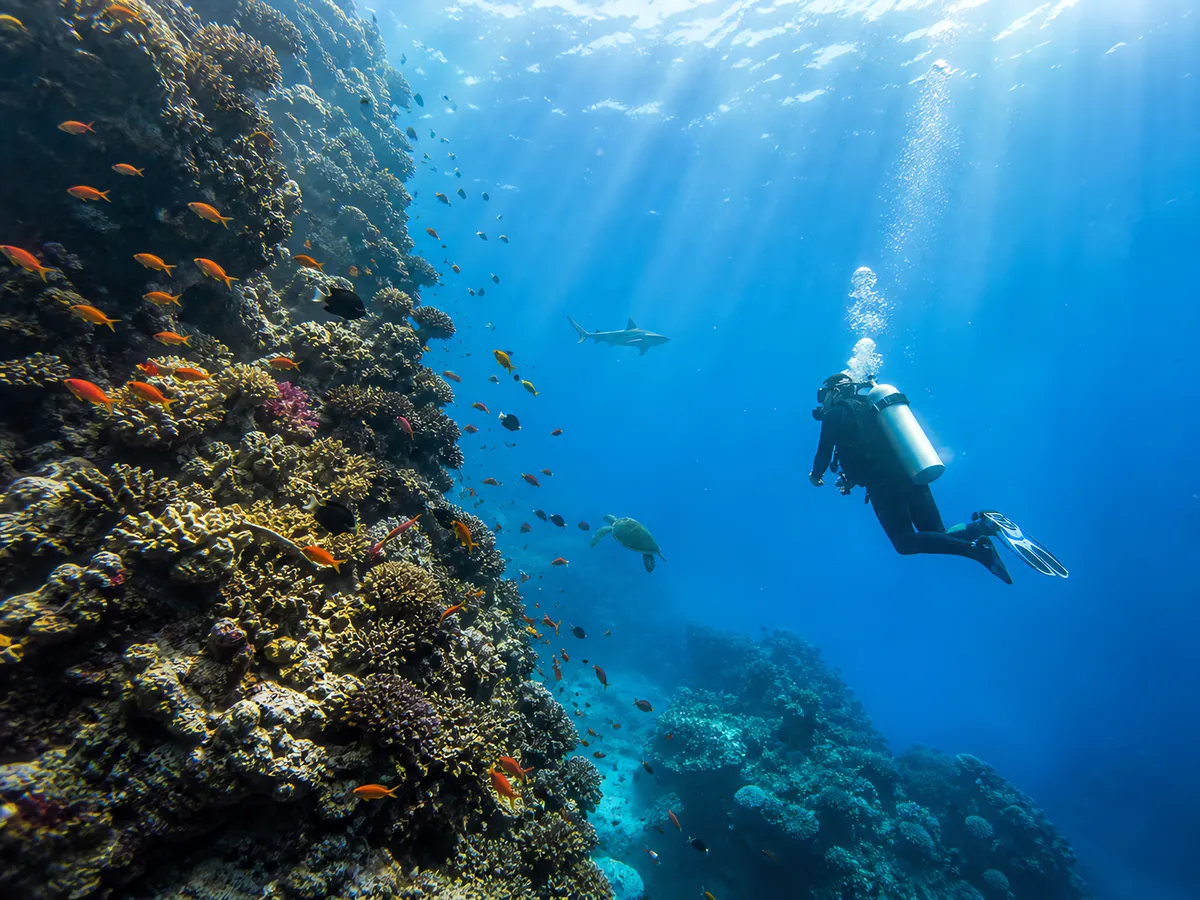
Lord Howe Island
Wall-and-reef diving with visibility up to 30 m, 4 standout species — a strong choice for experienced divers.

El Pit Cenote
Cave diving with visibility up to 30 m, 4 standout species — a strong choice for experienced divers.

Catalina Island
Wall-and-reef diving with 4 standout species — a great fit for most divers.

Komodo National Park
Wall-and-reef diving with visibility up to 25 m, 4 standout species, liveaboard access, challenging currents — a strong choice for experienced divers.

Moalboal
Wall-and-reef diving with a well-rounded site — ideal for newcomers.

Ishigaki Island
Drift diving with visibility up to 25 m — a great fit for most divers.

North Male Atoll
Wall-and-reef diving with visibility up to 25 m, liveaboard access — a great fit for most divers.

Bonaire Marine Park
Reef diving with visibility up to 25 m — ideal for newcomers.

Utila
Reef diving with a well-rounded site — ideal for newcomers.

Monterey Bay
Reef diving with 4 standout species — a great fit for most divers.

Tubbataha Reefs Natural Park
Wall-and-reef diving with visibility up to 30 m, 4 standout species, liveaboard access, challenging currents — a strong choice for experienced divers.

Malapascua Island
Wall-and-reef diving with a well-rounded site — a strong choice for experienced divers.

Xiaoliuqiu
Reef diving with a well-rounded site — ideal for newcomers.

Ari Atoll
Wall-and-reef diving with visibility up to 25 m, liveaboard access, challenging currents — a strong choice for experienced divers.

Havelock Island
Wall-and-reef diving with a well-rounded site — a great fit for most divers.

Osprey Reef
Wall-and-reef diving with visibility up to 30 m, 4 standout species, liveaboard access, challenging currents — a strong choice for experienced divers.
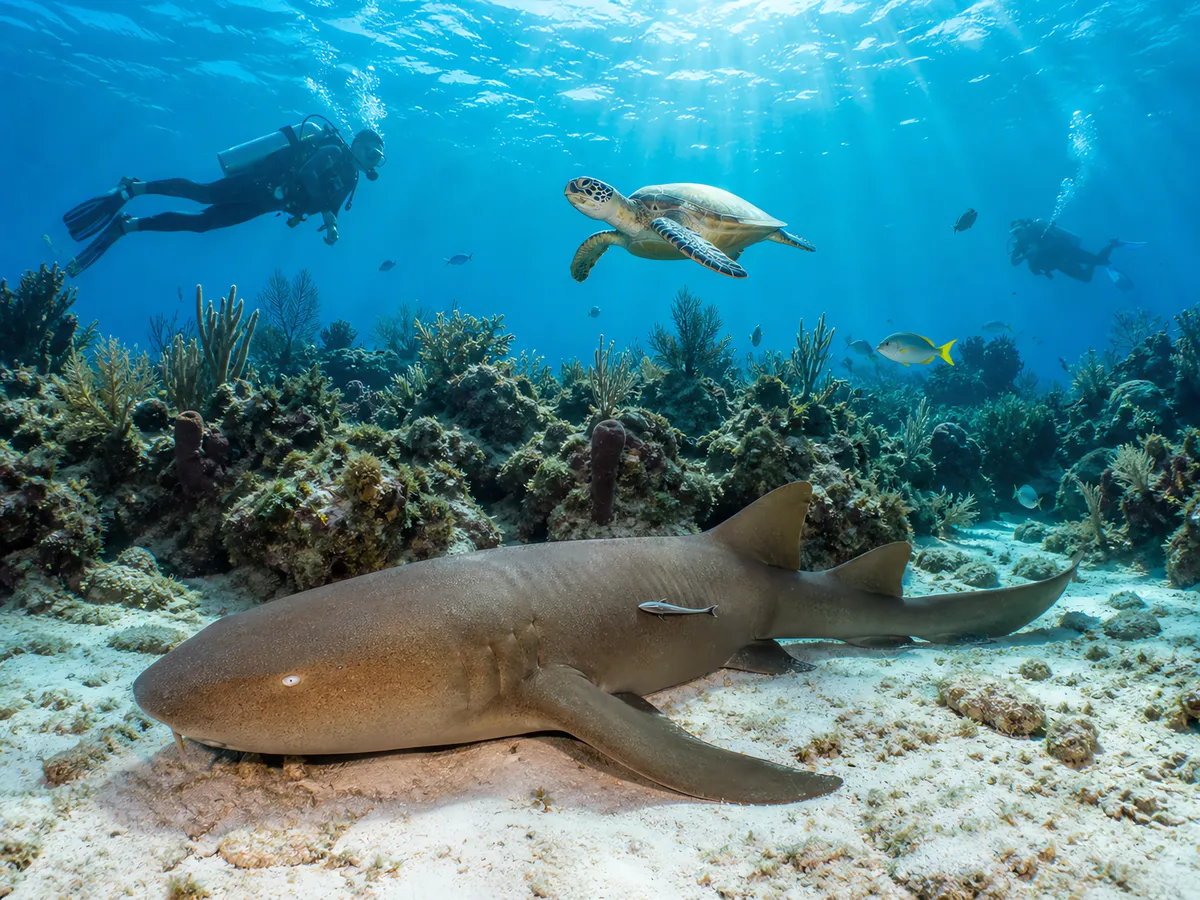
Hol Chan Marine Reserve
Reef diving with a well-rounded site — ideal for newcomers.

Gozo Blue Hole
Blue-hole diving with visibility up to 25 m — a great fit for most divers.
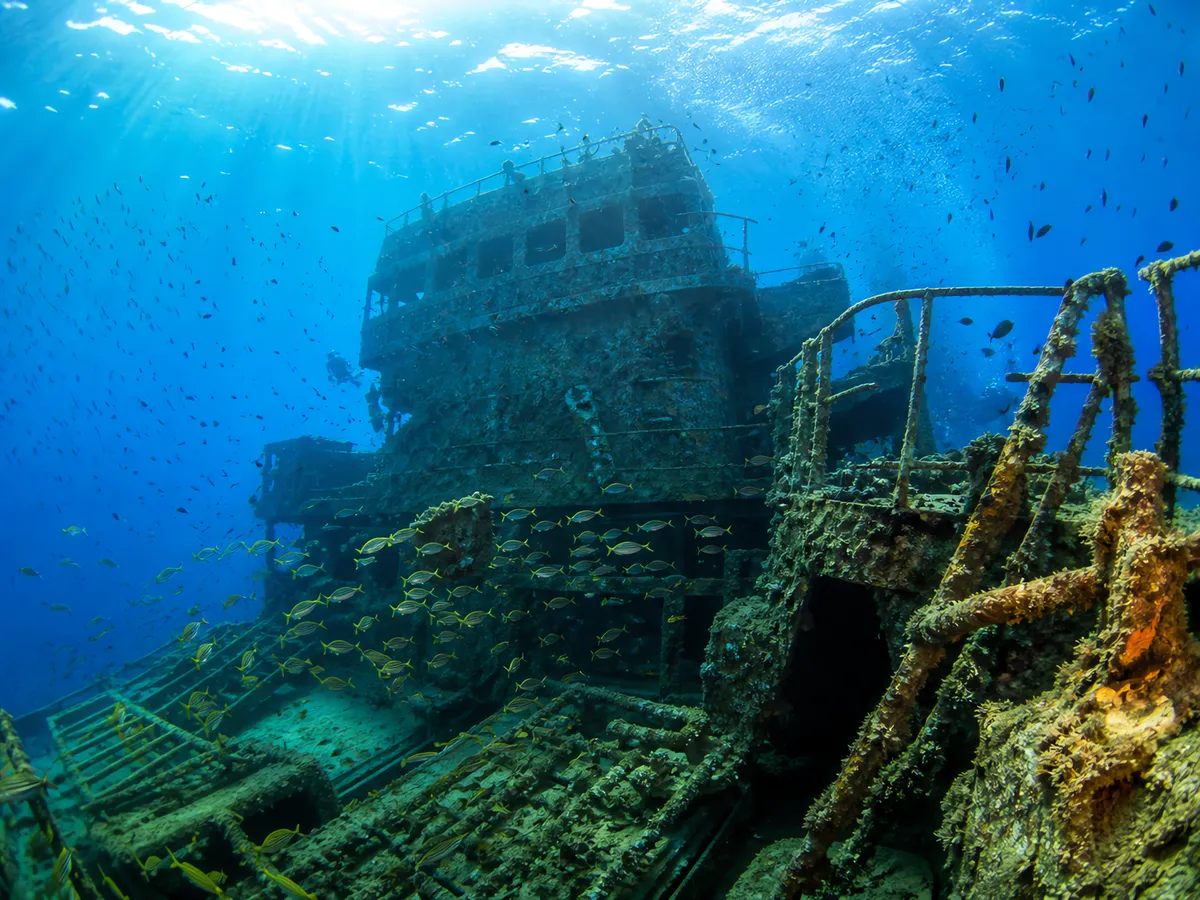
MV Zenobia Wreck
Wreck diving with visibility up to 25 m, 4 standout species — a strong choice for experienced divers.

USAT Liberty Wreck
Wreck diving with 4 standout species — ideal for newcomers.

Wakatobi Marine Park
Wall-and-reef diving with visibility up to 30 m — a great fit for most divers.

Verde Island Passage
Wall-and-reef diving with visibility up to 25 m, 4 standout species, challenging currents — a strong choice for experienced divers.
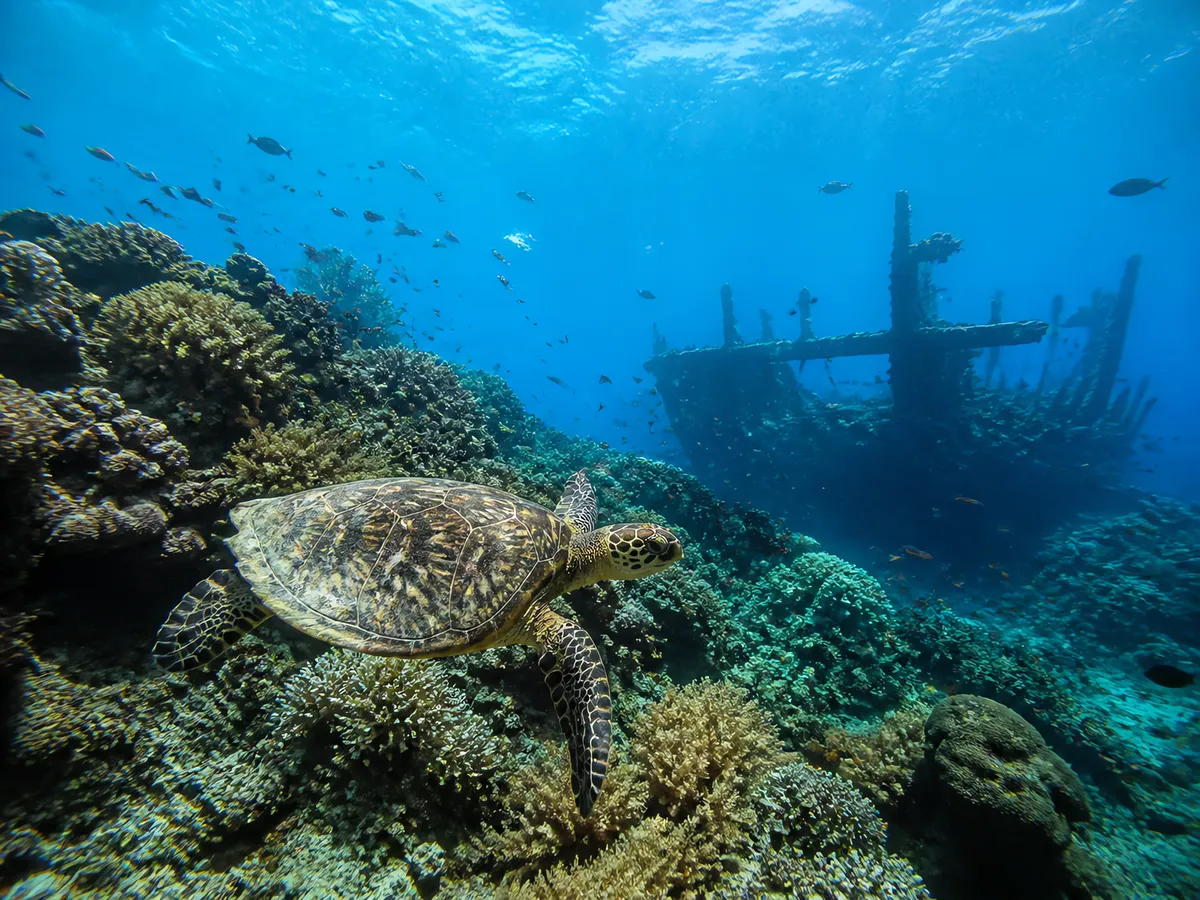
Tioman Island
Wreck diving with a well-rounded site — ideal for newcomers.
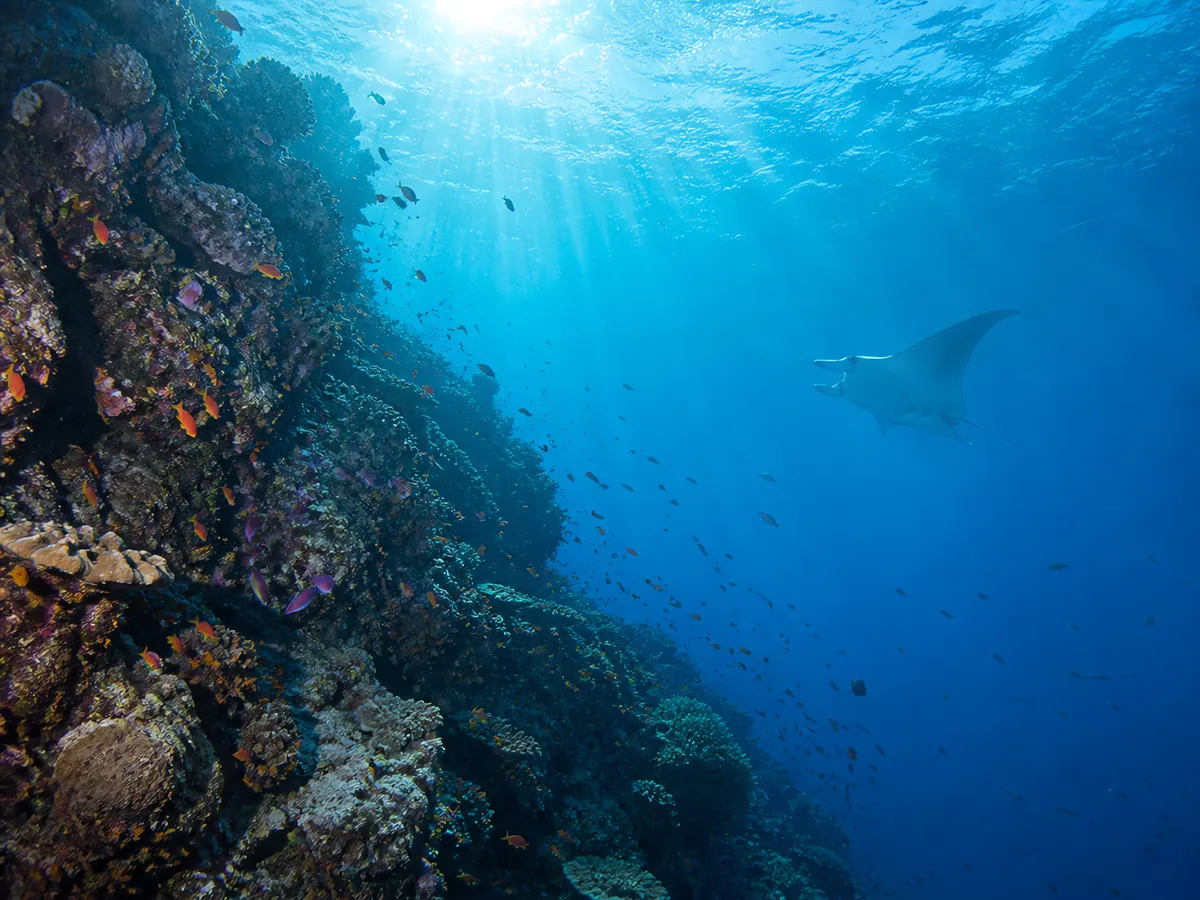
Layang-Layang (Swallow Reef)
Wall-and-reef diving with visibility up to 30 m, 4 standout species, liveaboard access, challenging currents — a strong choice for experienced divers.
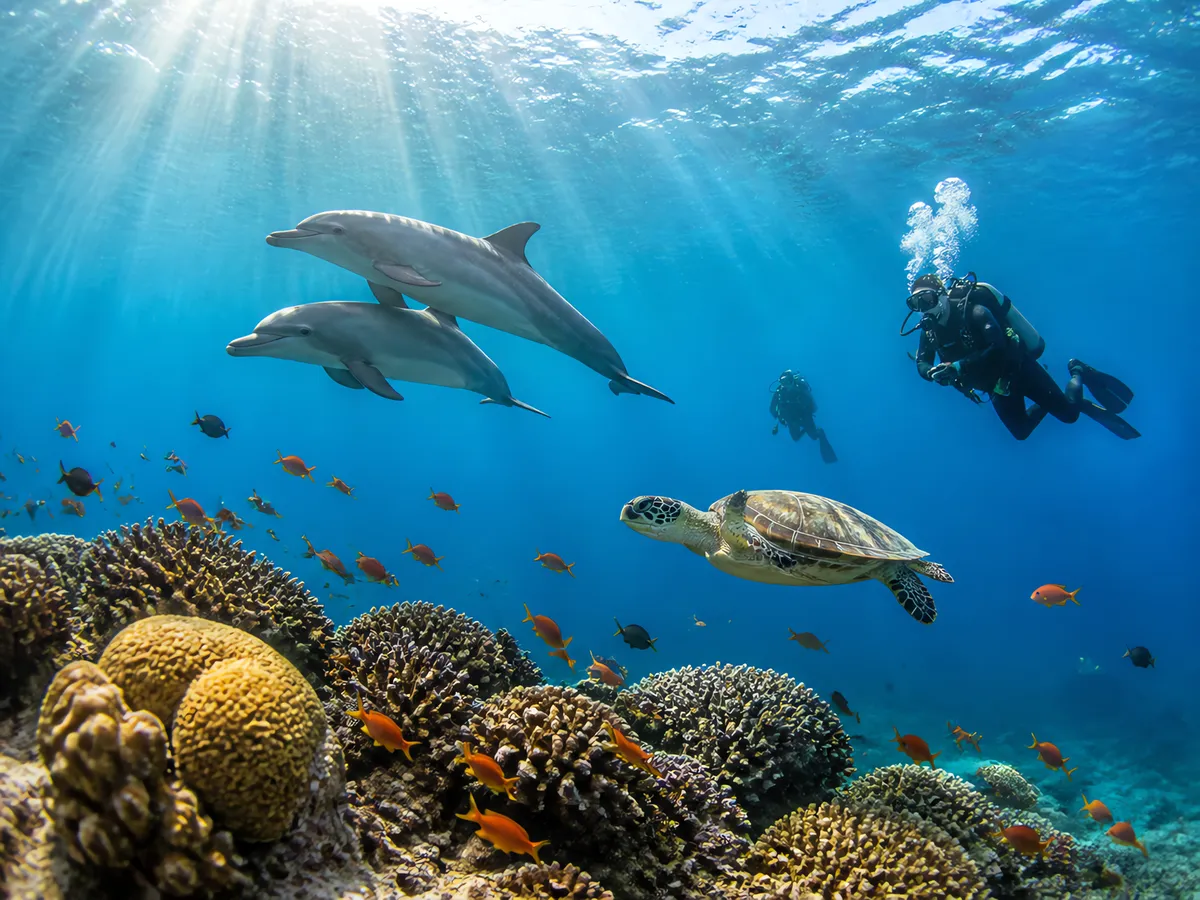
Sha'ab El Erg (Dolphin House)
Drift diving with visibility up to 25 m — a great fit for most divers.
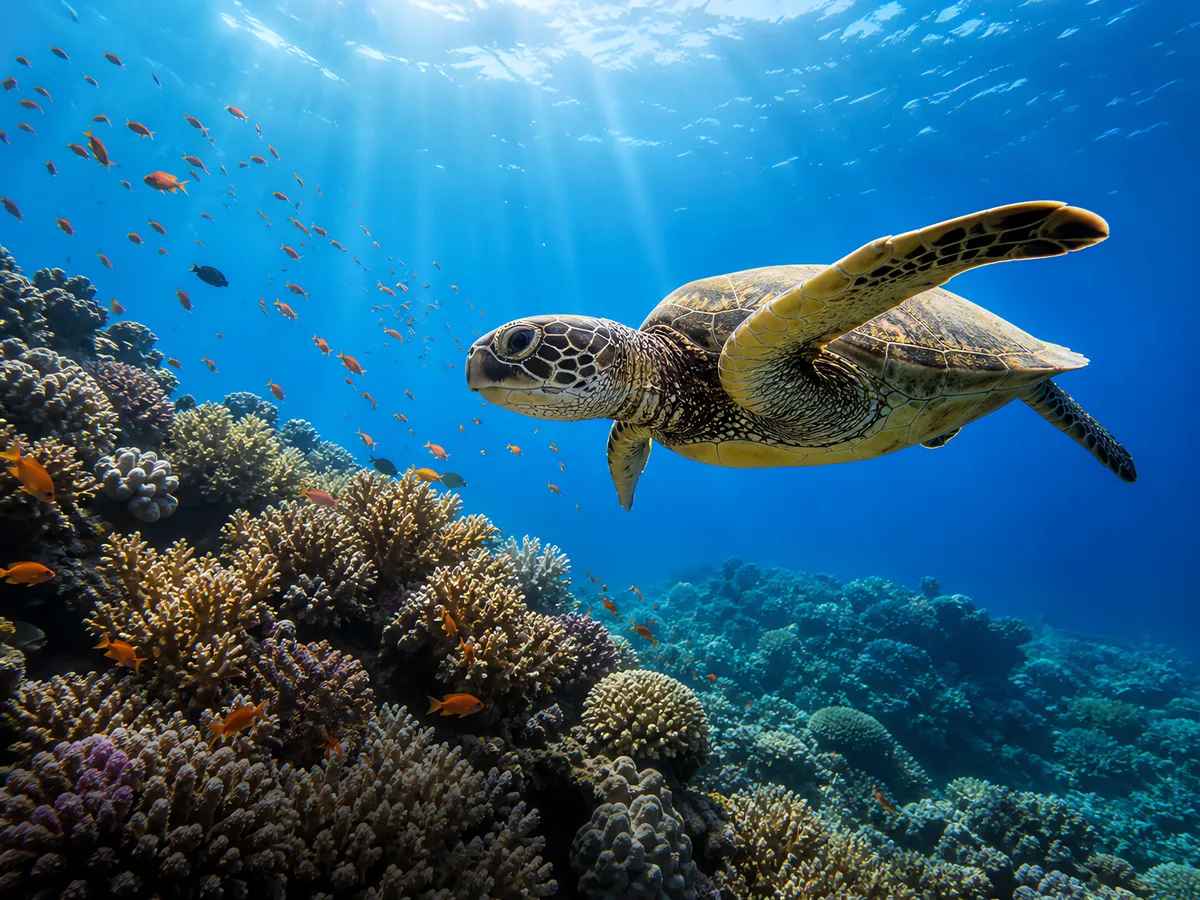
Giftun Island
Drift diving with visibility up to 25 m — a great fit for most divers.

Sipadan Island
Wall-and-reef diving with visibility up to 25 m, 4 standout species — a strong choice for experienced divers.

Lembeh Strait
Macro and muck diving with 4 standout species — a great fit for most divers.

Anilao
Macro and muck diving with 4 standout species — a great fit for most divers.

Koh Tao
Reef diving with a well-rounded site — ideal for newcomers.

Dahab Blue Hole
Blue-hole diving with visibility up to 25 m — a strong choice for experienced divers.
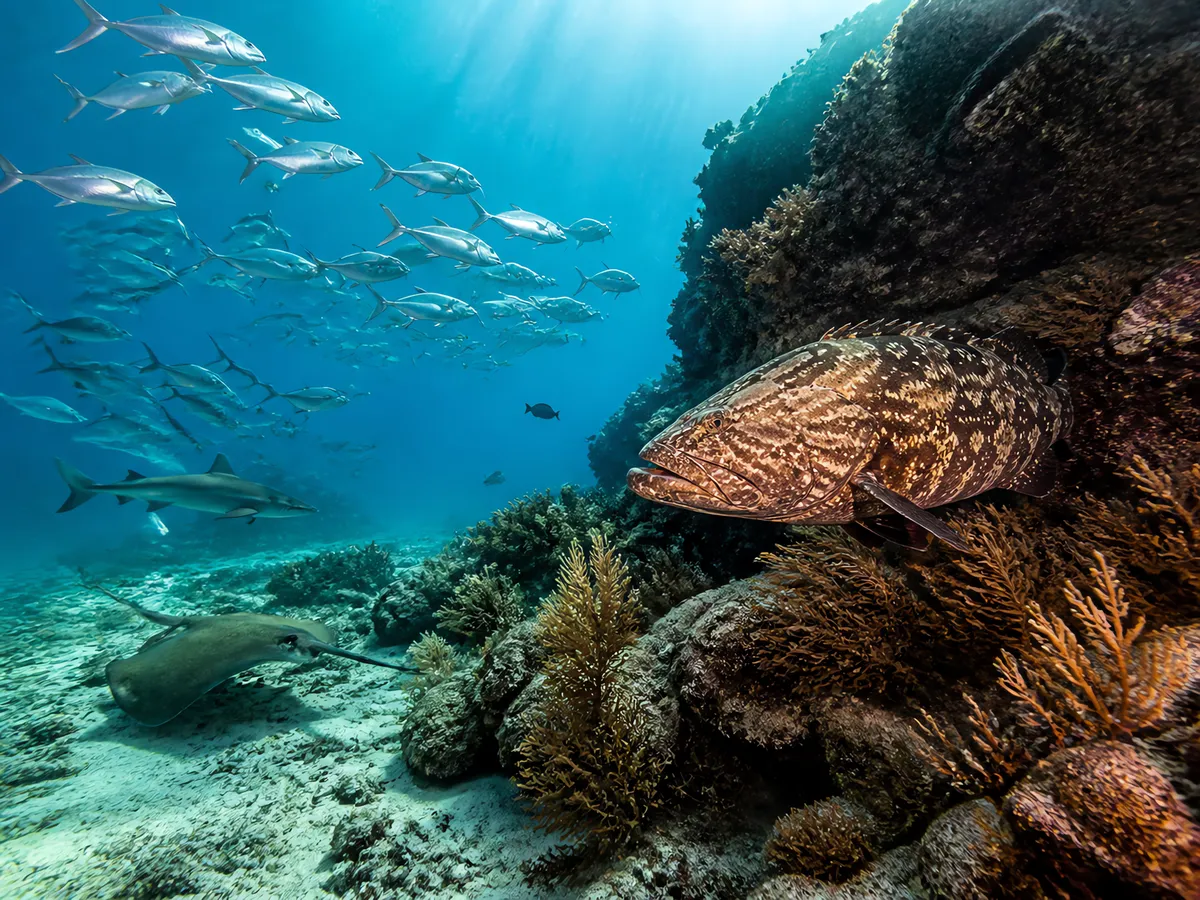
Cabo Pulmo
Wall-and-reef diving with visibility up to 25 m, 4 standout species — a great fit for most divers.
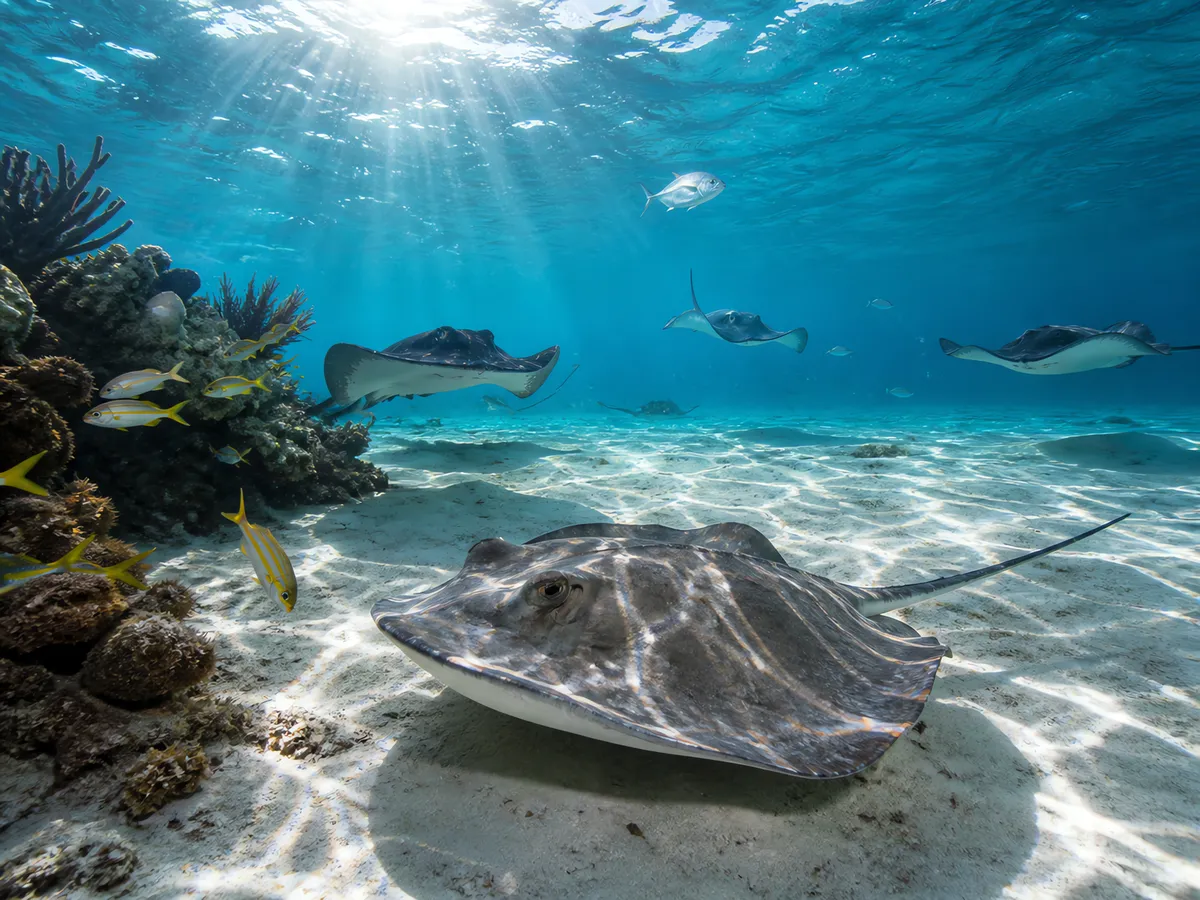
Stingray City
Reef diving with a well-rounded site — ideal for newcomers.
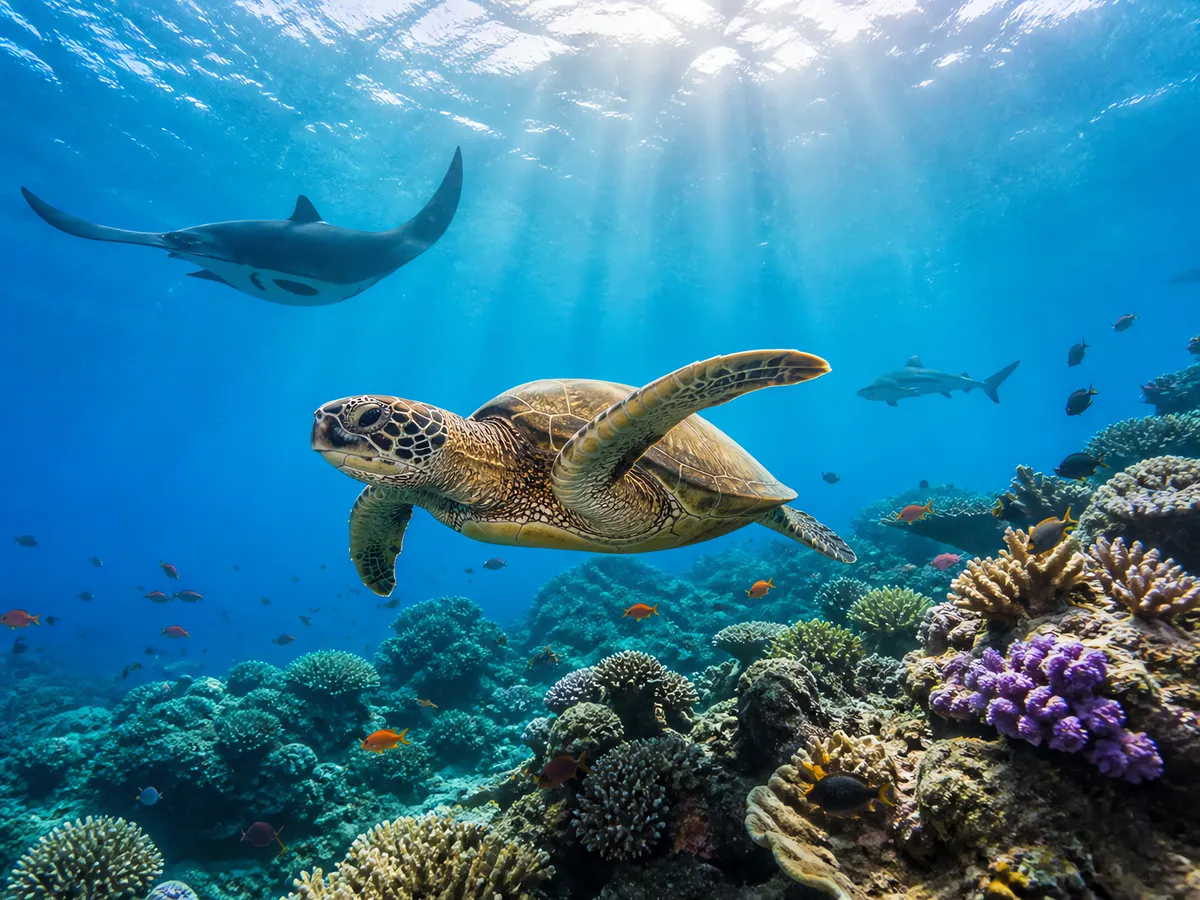
Coral Bay
Reef diving with 4 standout species — ideal for newcomers.

Mabul Island
Macro and muck diving with 4 standout species — a great fit for most divers.

Green Island
Wall-and-reef diving with visibility up to 25 m — a great fit for most divers.

Trincomalee
Wreck diving with a well-rounded site — a great fit for most divers.

Ningaloo Reef
Reef diving with a well-rounded site — a great fit for most divers.

SS Umbria
Wreck diving with visibility up to 30 m, 4 standout species, liveaboard access — a strong choice for experienced divers.
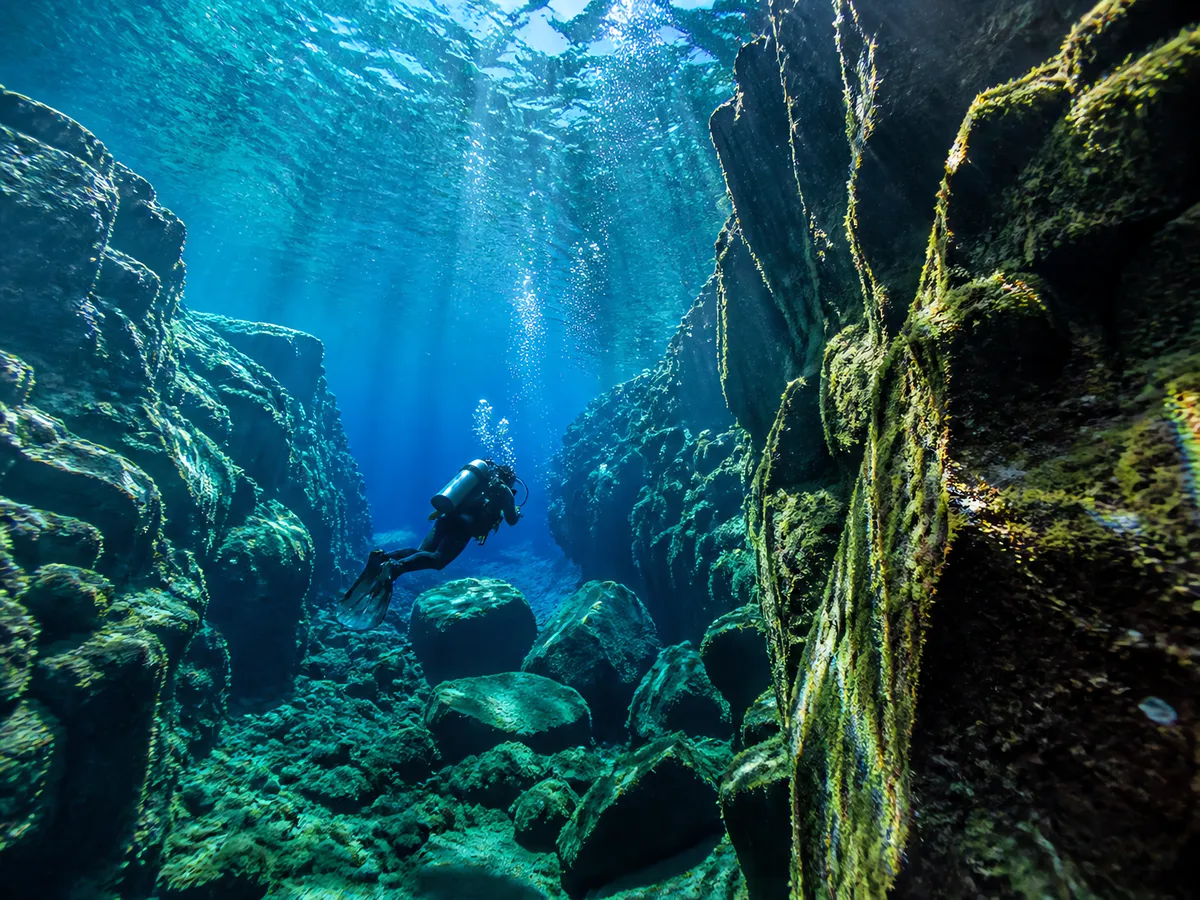
Silfra Fissure
Drift diving with visibility up to 100 m — a great fit for most divers.

Santorini
Cave diving with a well-rounded site — a great fit for most divers.
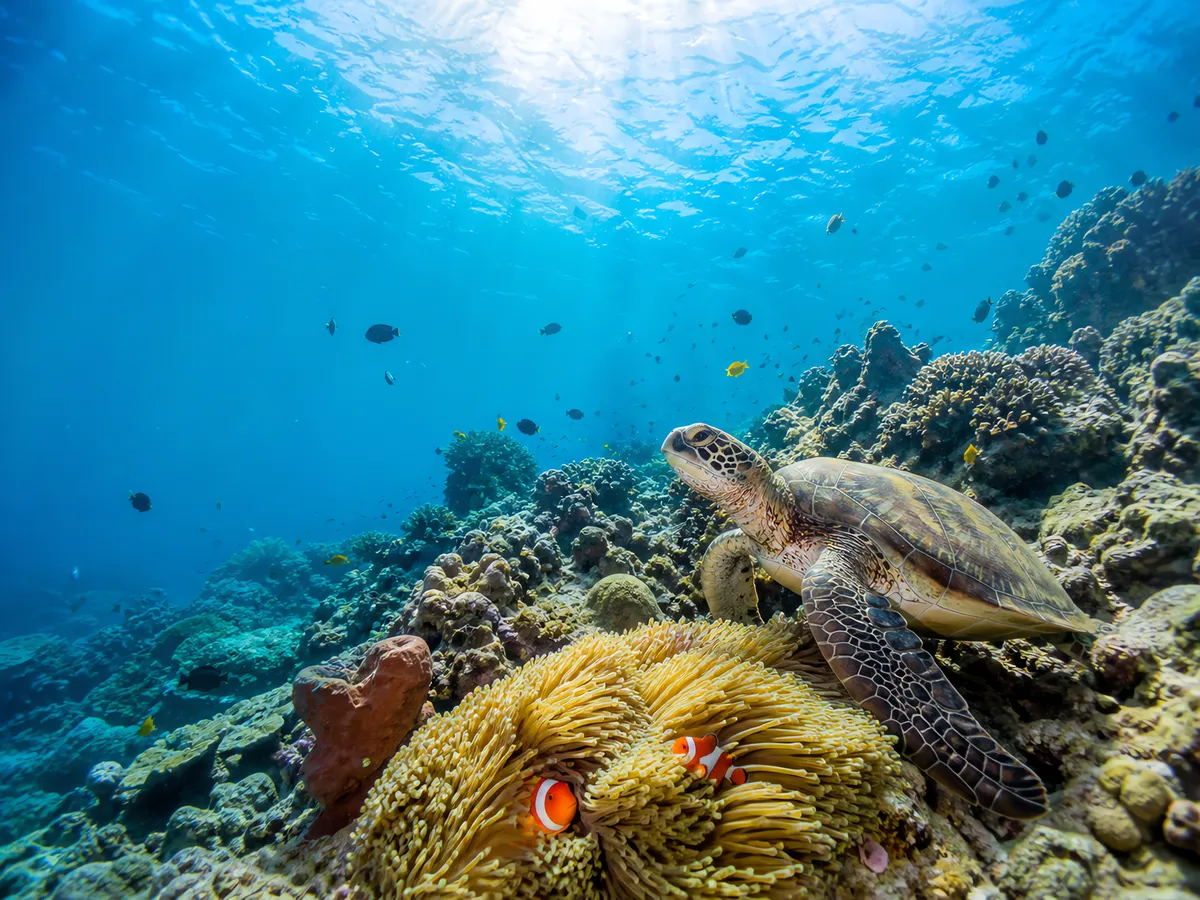
Apo Island
Wall-and-reef diving with visibility up to 25 m — ideal for newcomers.
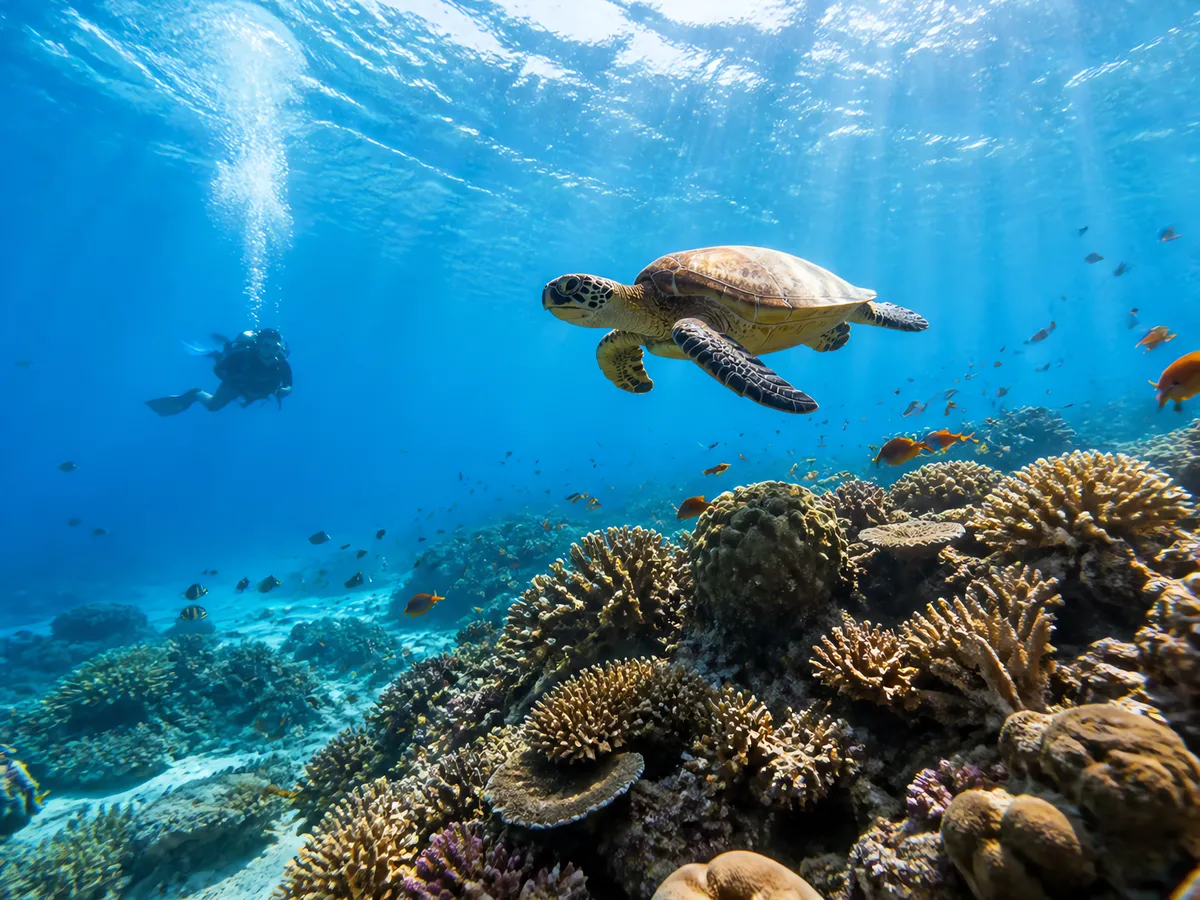
Perhentian Islands
Reef diving with a well-rounded site — ideal for newcomers.
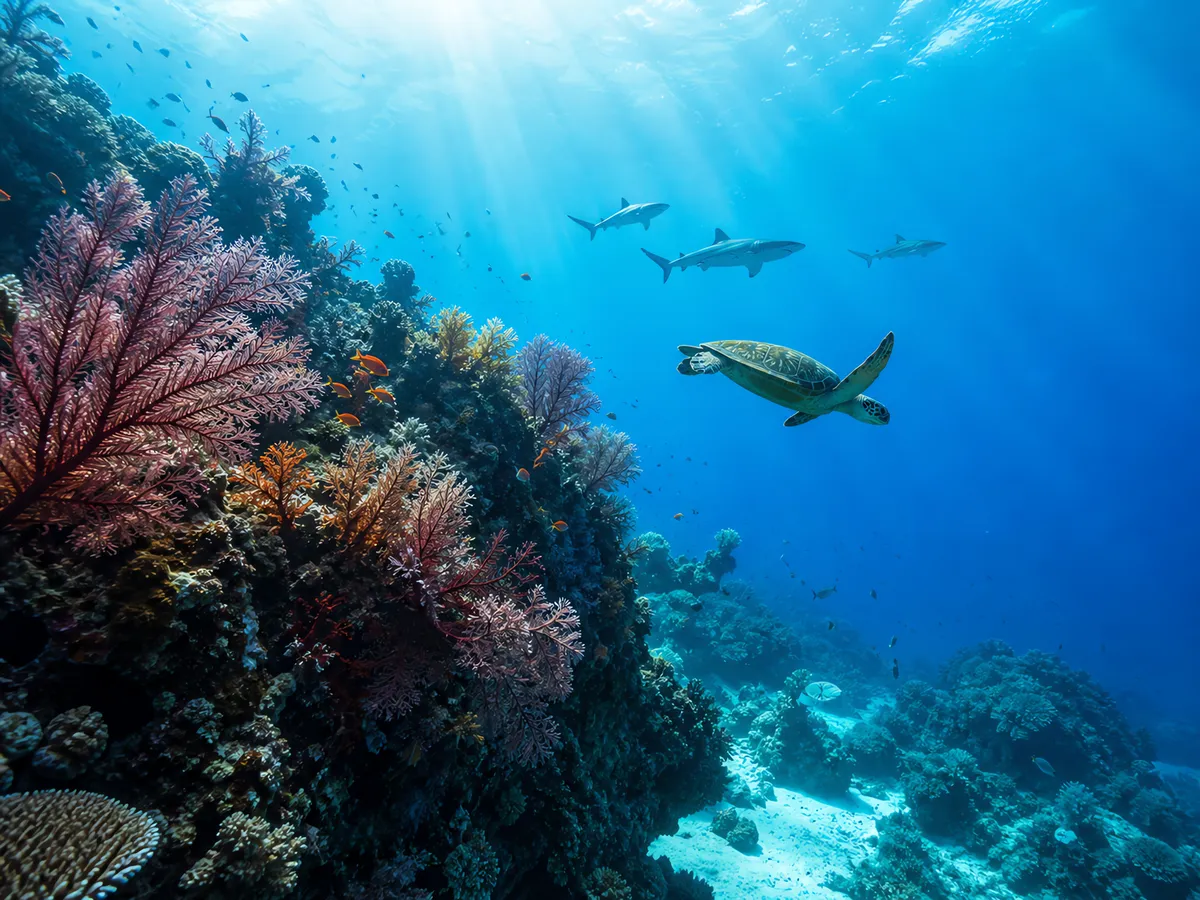
Namena Marine Reserve
Wall-and-reef diving with visibility up to 25 m, 4 standout species, liveaboard access — a great fit for most divers.

German Channel
Drift diving with visibility up to 30 m, challenging currents — a strong choice for experienced divers.
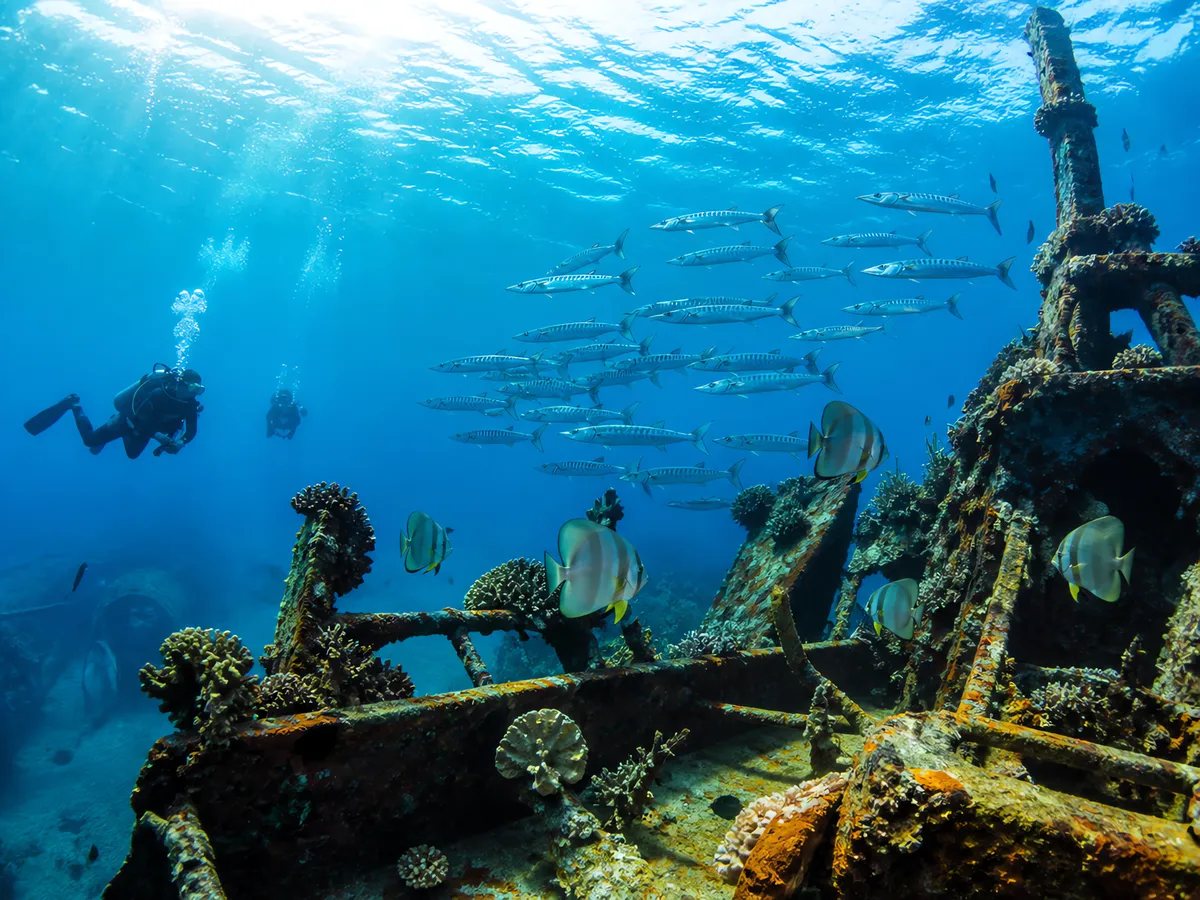
Coron Bay Wrecks
Wreck diving with 4 standout species — a great fit for most divers.

Con Dao Islands
Wreck diving with a well-rounded site — a great fit for most divers.

Beqa Lagoon
Reef diving with a well-rounded site — a great fit for most divers.

Rainbow Reef
Wall-and-reef diving with visibility up to 25 m — a great fit for most divers.
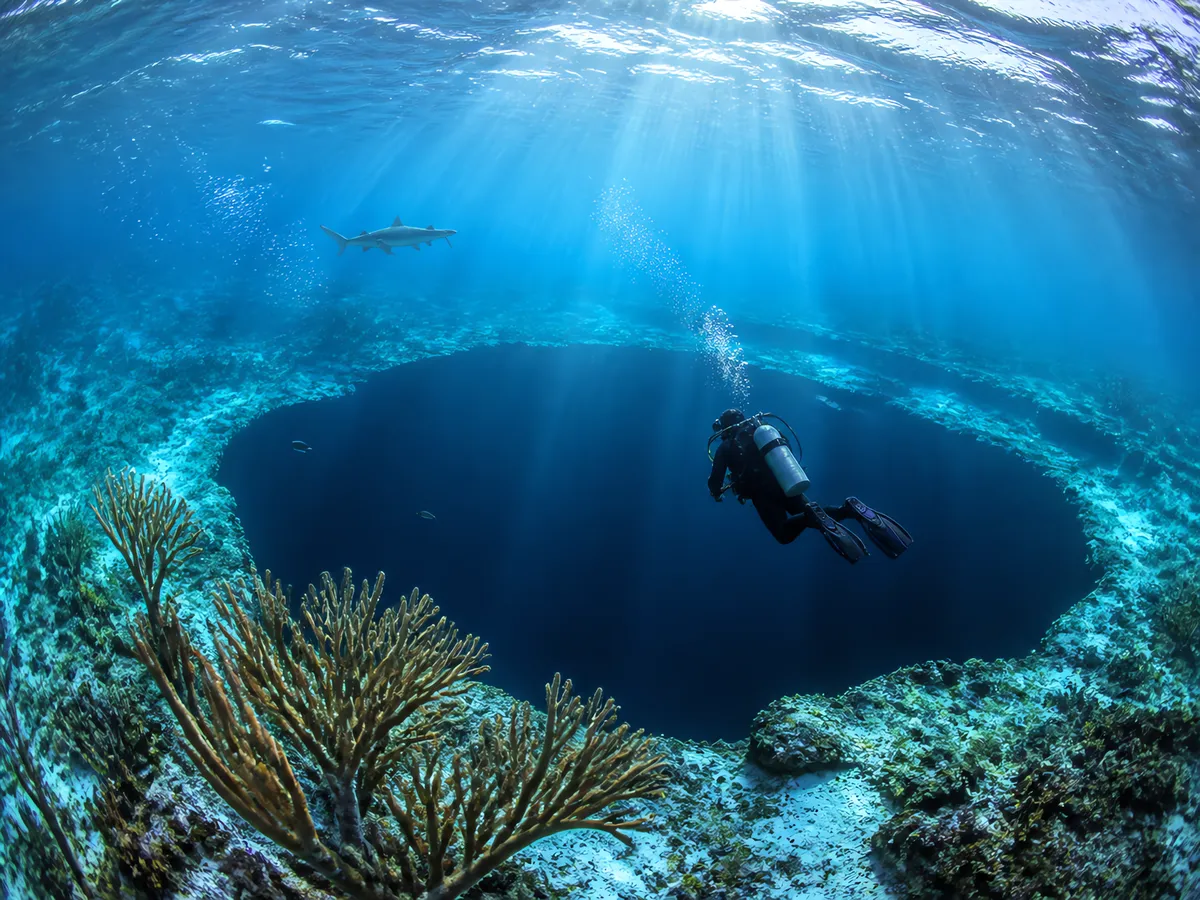
Great Blue Hole
Blue-hole diving with visibility up to 25 m — a strong choice for experienced divers.

La Restinga Marine Reserve
Wall-and-reef diving with visibility up to 25 m — a great fit for most divers.

SS President Coolidge
Wreck diving with a well-rounded site — a strong choice for experienced divers.

Mnemba Atoll
Drift diving with visibility up to 25 m — ideal for newcomers.

Osezaki
Reef diving with a well-rounded site — a great fit for most divers.
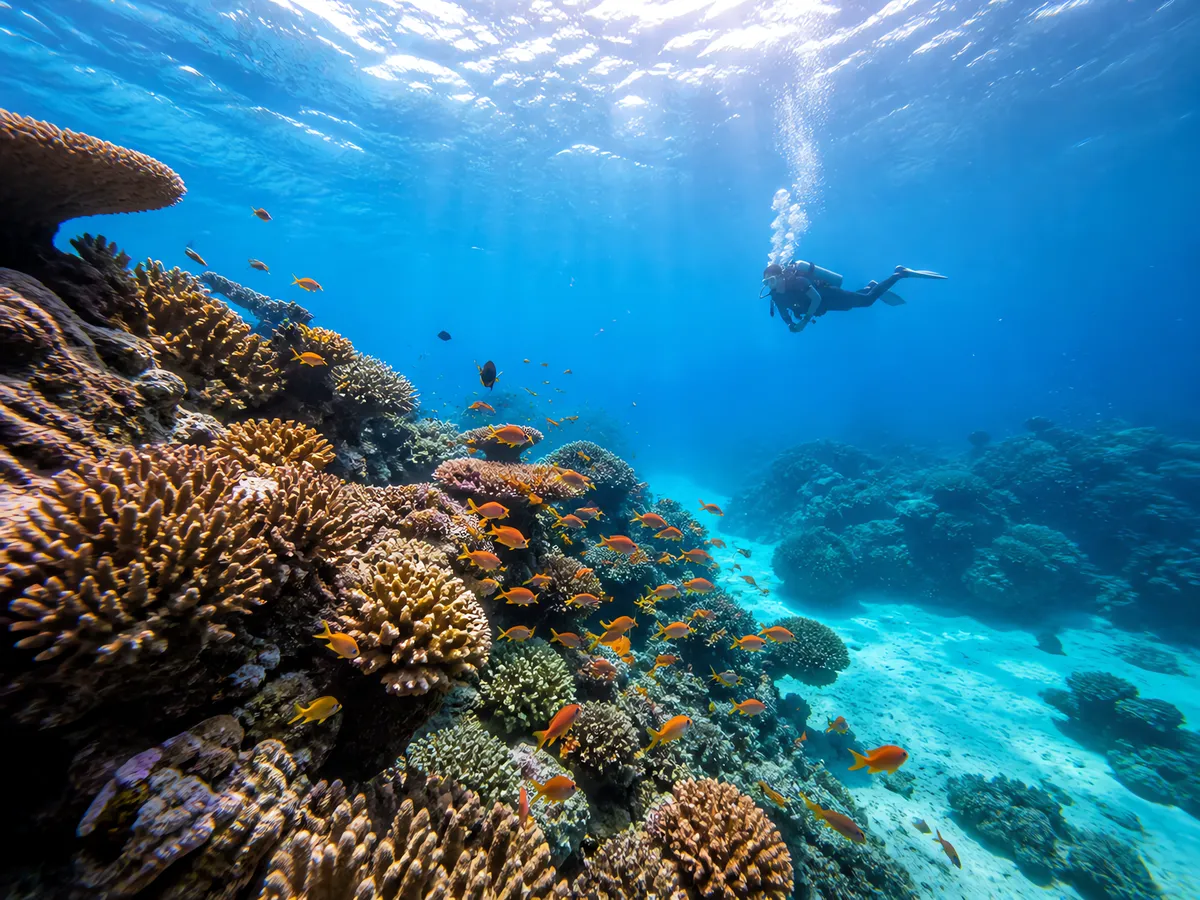
Hon Mun Marine Park
Reef diving with a well-rounded site — ideal for newcomers.

SS Yongala Wreck
Wreck diving with 4 standout species — a strong choice for experienced divers.

Kimbe Bay
Wall-and-reef diving with visibility up to 25 m, liveaboard access — a strong choice for experienced divers.

SS Thistlegorm
Wreck diving with visibility up to 25 m, 4 standout species, liveaboard access — a strong choice for experienced divers.

Kona Manta Ray Night Dive
Reef diving with a well-rounded site — ideal for newcomers.
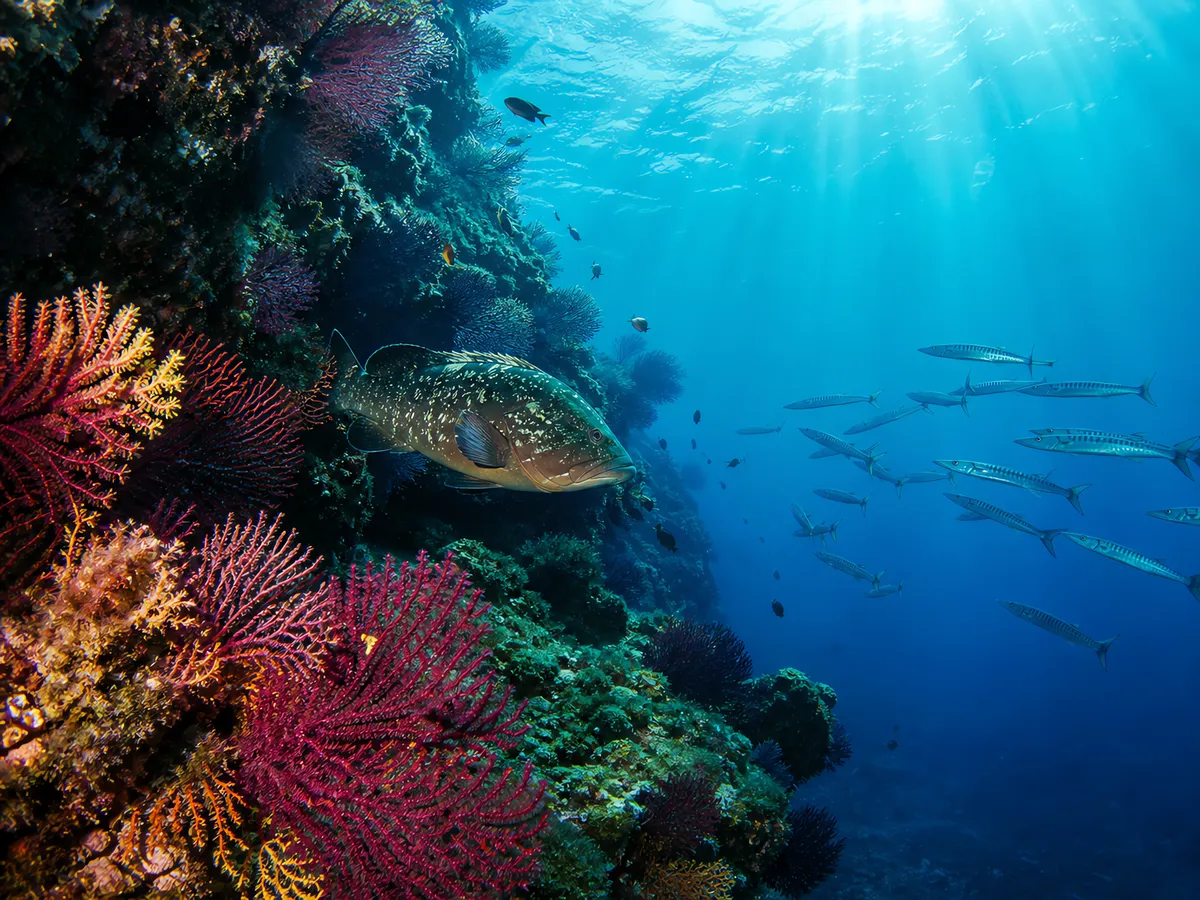
Medes Islands
Wall-and-reef diving with visibility up to 25 m — a great fit for most divers.

Vaavu Atoll
Wall-and-reef diving with visibility up to 25 m, liveaboard access, challenging currents — a strong choice for experienced divers.

Yap Islands
Reef diving with visibility up to 25 m — a great fit for most divers.

Sodwana Bay
Reef diving with a well-rounded site — ideal for newcomers.

Spiegel Grove Wreck
Wreck diving with a well-rounded site — a great fit for most divers.

Malpelo Island
Wall-and-reef diving with visibility up to 25 m, liveaboard access, challenging currents — a strong choice for experienced divers.

Vis Island
Wreck diving with a well-rounded site — a great fit for most divers.

Tufi Fjords
Wall-and-reef diving with visibility up to 25 m, liveaboard access — a strong choice for experienced divers.
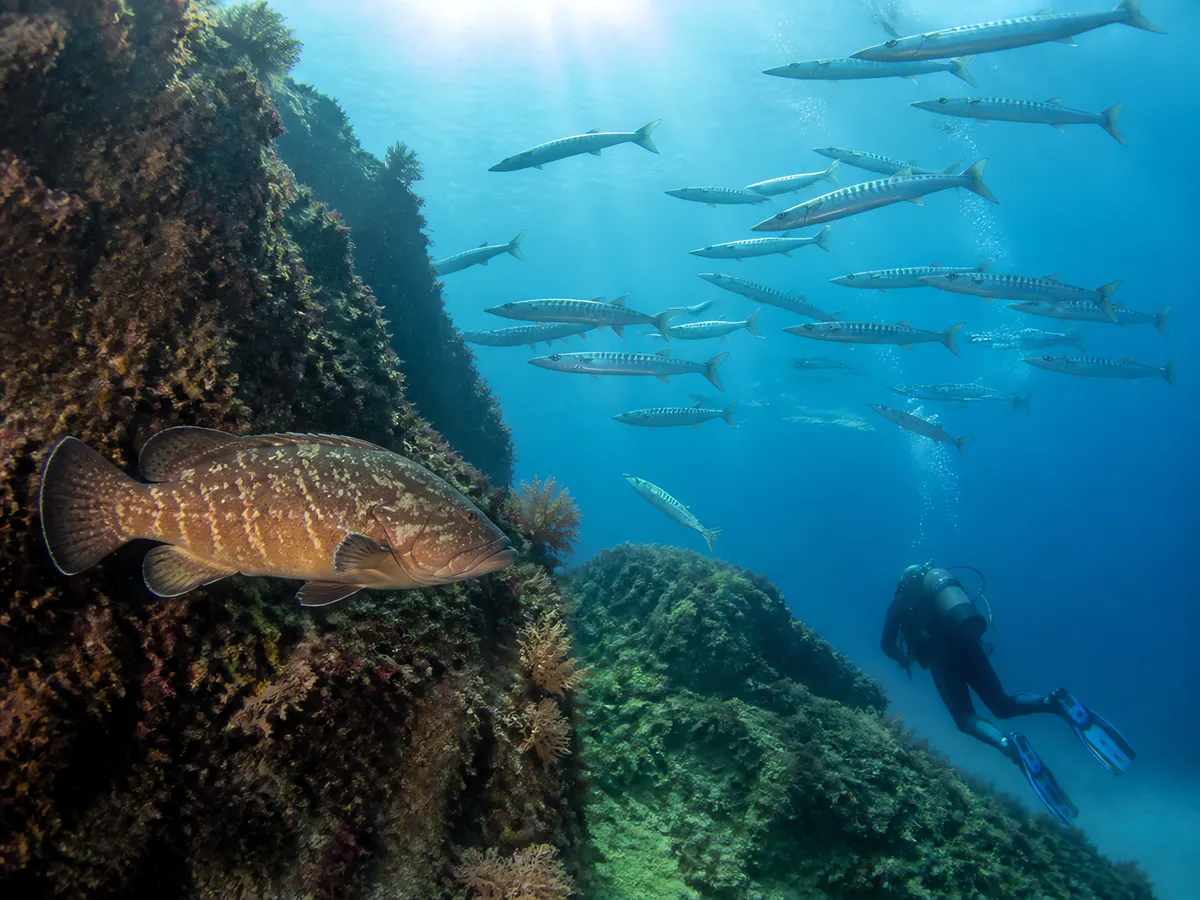
Berlengas Islands
Wall-and-reef diving with a well-rounded site — a great fit for most divers.

Million Dollar Point
Wreck diving with a well-rounded site — a great fit for most divers.
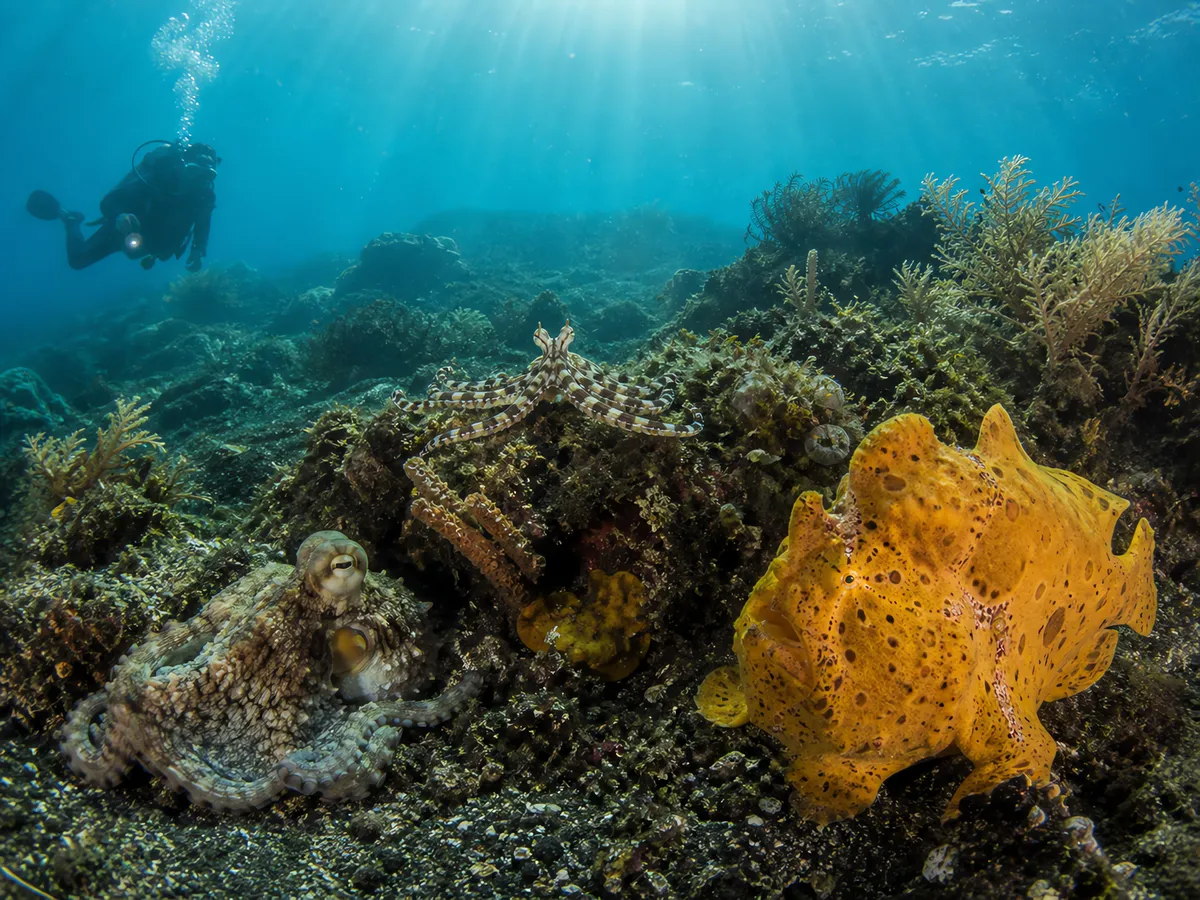
Ambon Bay
Macro and muck diving with 4 standout species — a great fit for most divers.
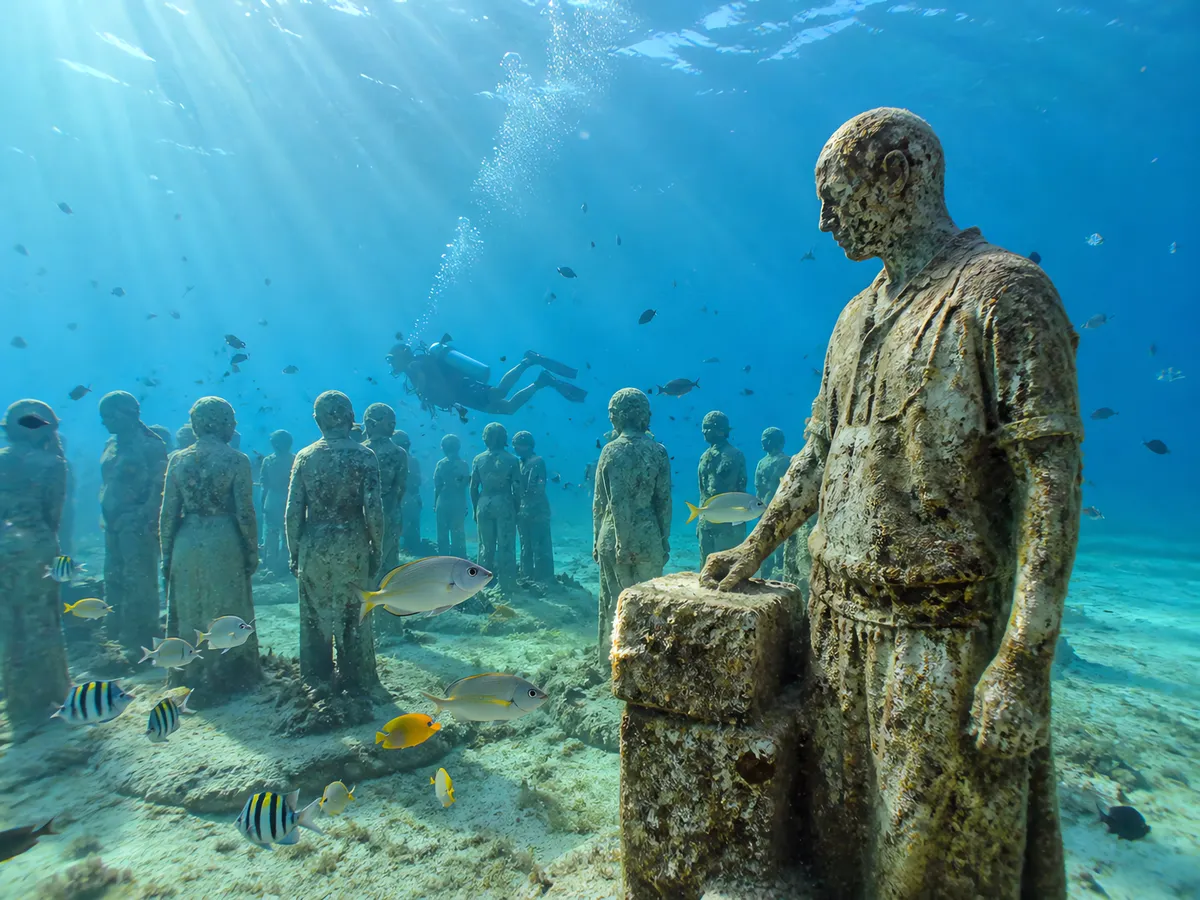
MUSA Underwater Museum
Wreck diving with a well-rounded site — ideal for newcomers.

Champagne Reef
Reef diving with a well-rounded site — ideal for newcomers.

Molinere Underwater Sculpture Park
Reef diving with a well-rounded site — ideal for newcomers.
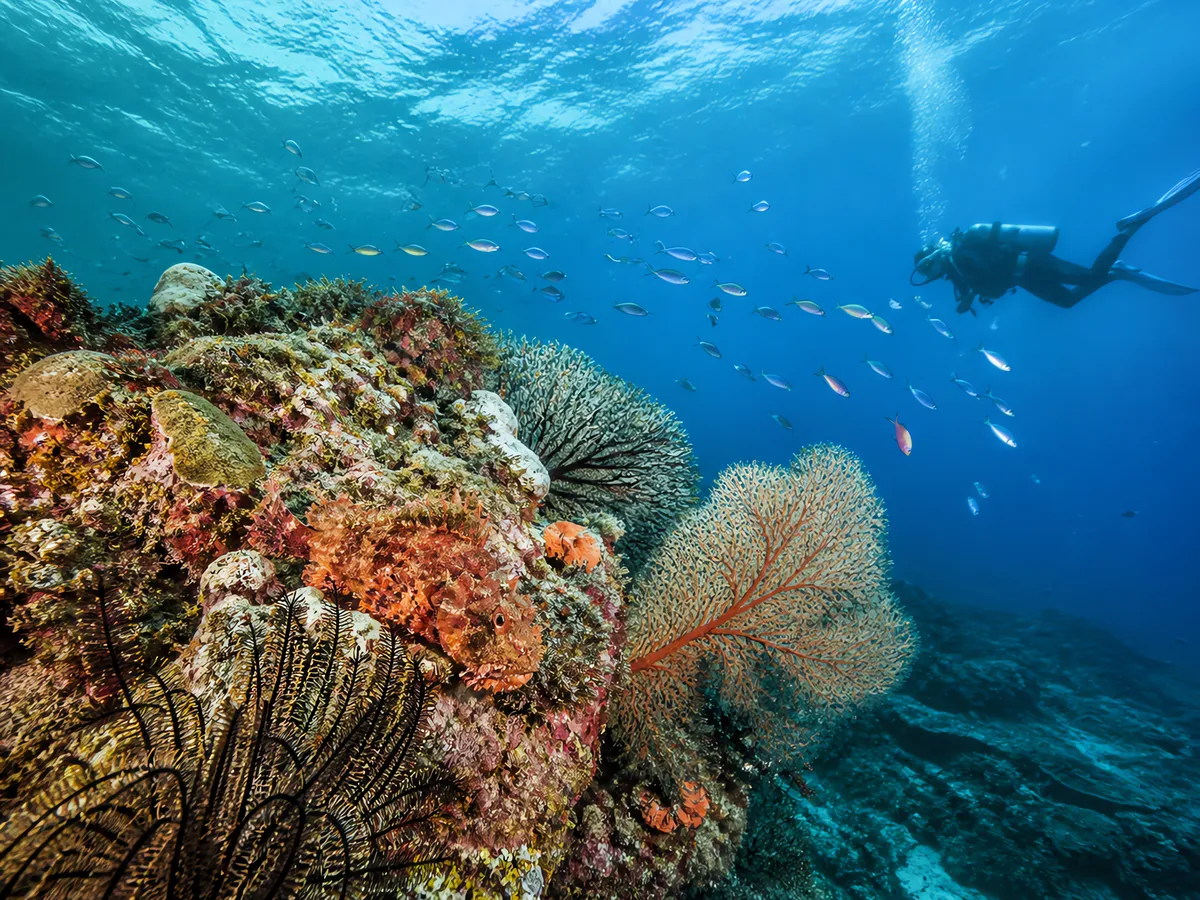
Alor Island
Drift diving with 4 standout species, liveaboard access, challenging currents — a strong choice for experienced divers.

Saltstraumen Maelstrom
Wall-and-reef diving with challenging currents — a strong choice for experienced divers.

Truk (Chuuk) Lagoon
Wreck diving with liveaboard access — a strong choice for experienced divers.

Scapa Flow
Wreck diving with liveaboard access — a strong choice for experienced divers.

Weizhou Island
Reef diving with a well-rounded site — ideal for newcomers.

Jellyfish Lake
Diving with a well-rounded site — ideal for newcomers.